Appearance
How it works
The Cenova Command Beta installation guide describes how to set up the system.
The Home page serves as the main entry point to the application, providing quick access to all major functional areas. From here, users can navigate directly to modules related to Cenova operations and Administrative tools.
The Home view is divided into two primary sections:
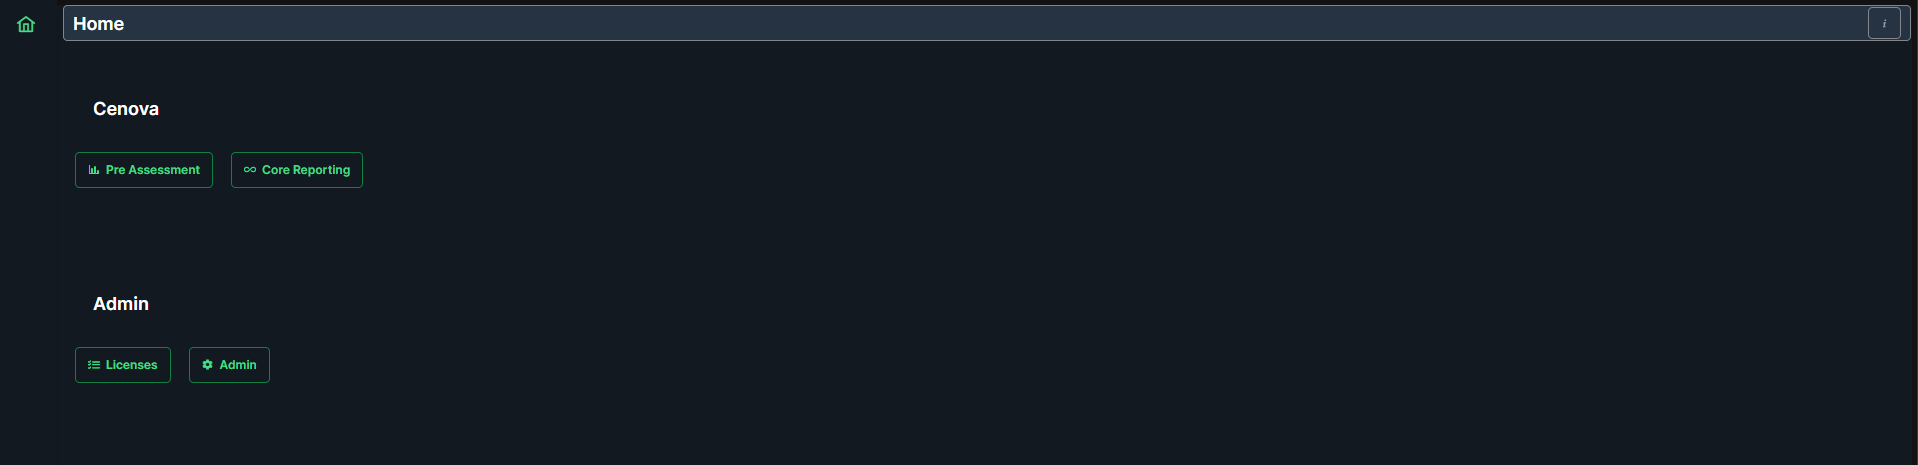
Cenova
- Pre Assessment - Opens the Pre Assessment module, where users can perform a quick evaluation of their data before proceeding to detailed analysis..
- Core Reporting - Opens the Core Reporting module, allowing users to define reporting parameters, schedules, and review generated reports.
Admin
- Licenses - Opens the License management interface, where users can view and manage license allocations.
Admin
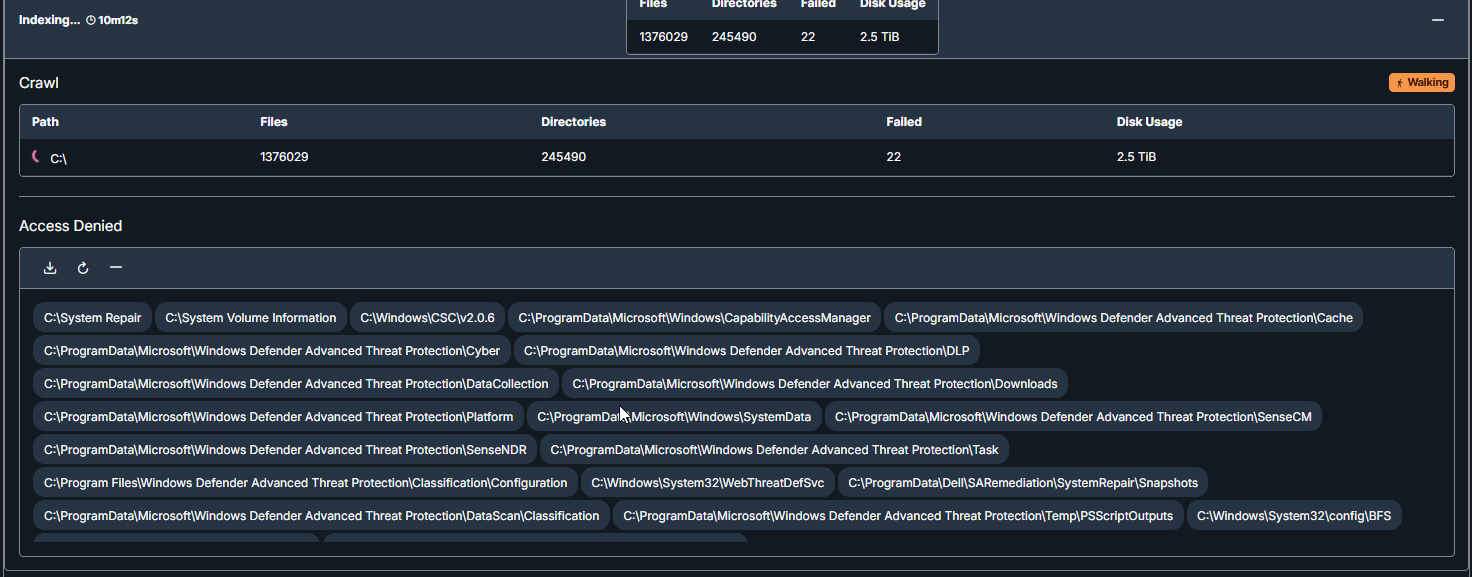
Crawler
Under the Crawler section, users can review previous crawls and view key information such as path, number of files, directories, filed directories, disk usage, access denied paths and the overall status.
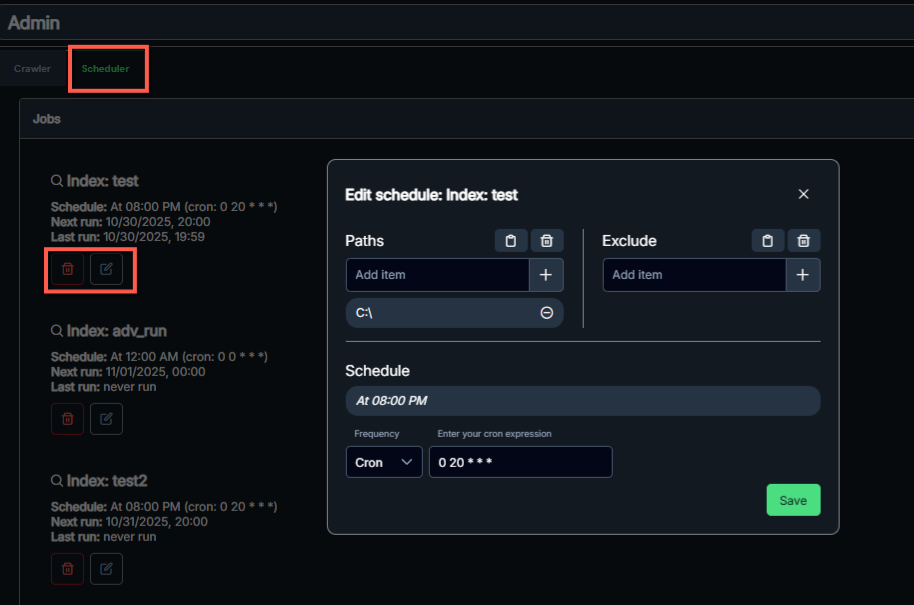
Scheduler
Under the Scheduler section, users can view all scheduled jobs. Users can edit or delete existing jobs, as well as configure crawl parameters, including adding or removing paths, excluding specific files, and setting the desired scheduling frequency.
Installation
Please consult the installation guide for details on how to install Cenova Command https://gentle-mud-0b1b12403-preview.westeurope.3.azurestaticapps.net/
On the VM where the software is installed, browse http://localhost:9797 to access Cenova Command user interface.