Pre-Assessment
A Pre-Assessment is a one-time scan that gives you an immediate snapshot of a data landscape — total volume, storage distribution, file composition, and notable applications and projects. Use it before committing to scheduled monitoring.
At a glance
- One-off scan — pick paths, name it, run it
- Both local and network paths supported
- Results land in a predefined dashboard
- Happy with the results? You can promote it to scheduled monitoring via Core Reporting
1. Configure your Pre-Assessment
The first time you open Cenova, no Pre-Assessment exists yet. Cenova will walk you through the setup.
Step 1 — Open Command
Click the Command tile on the Home page.
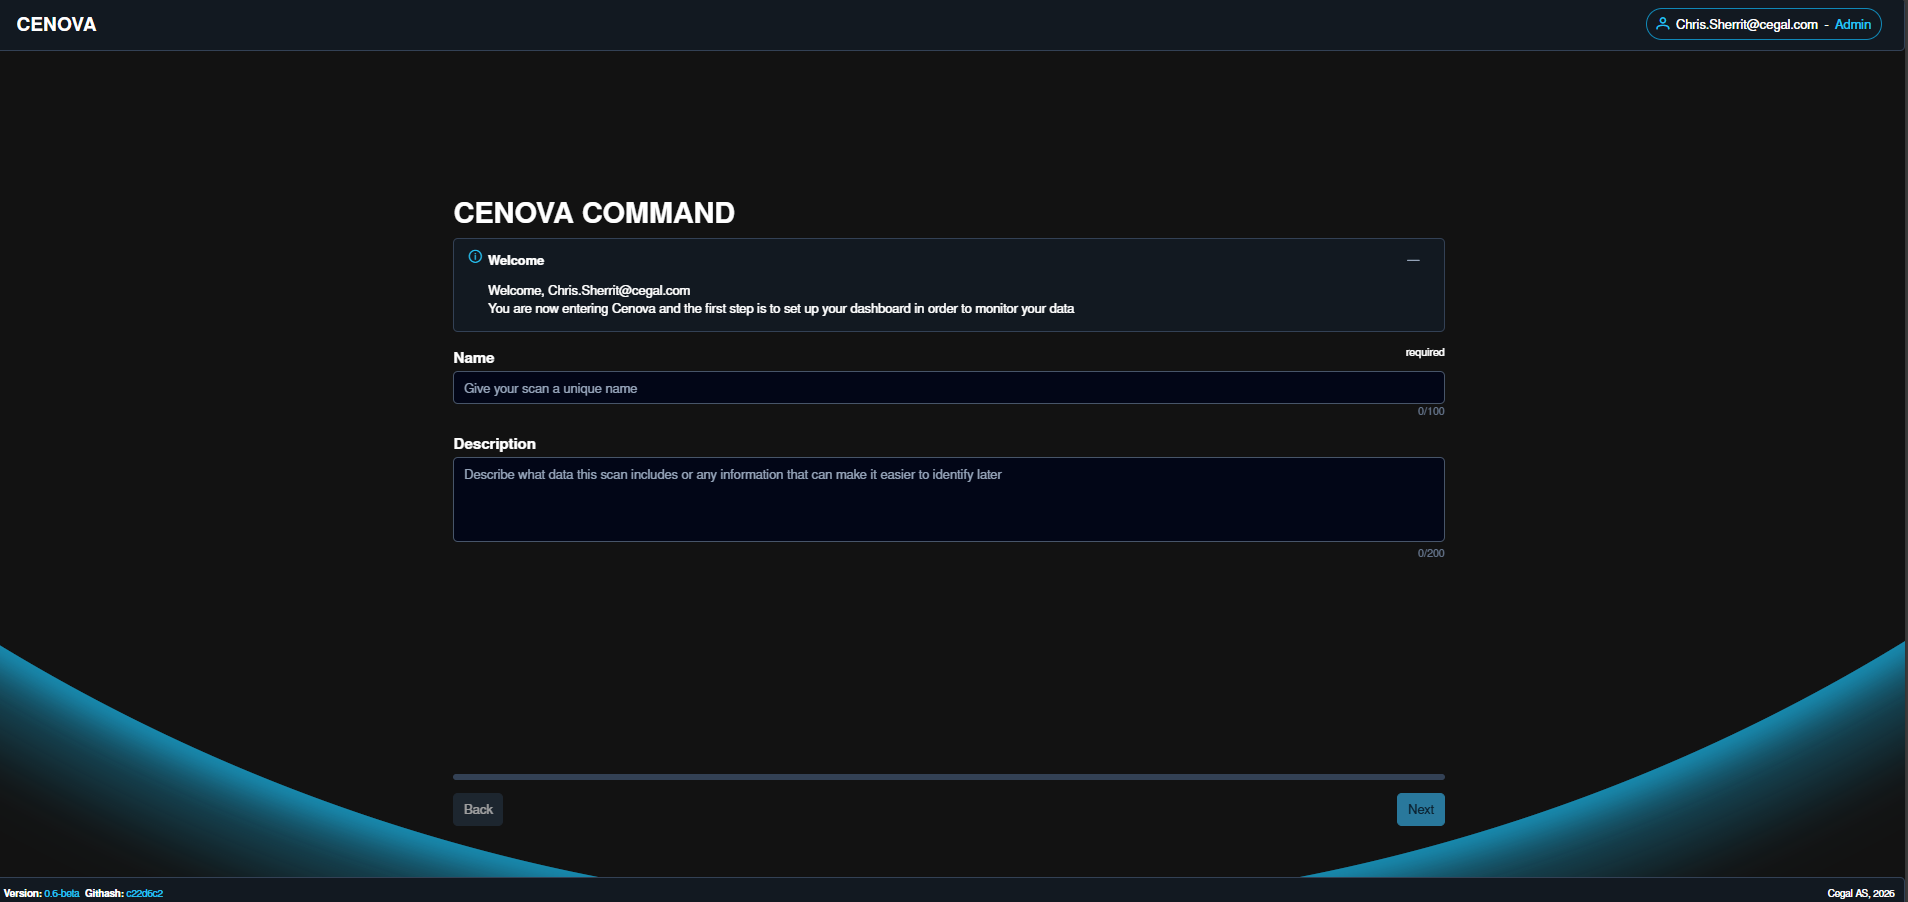
Step 2 — Name and description
Give the data landscape a name and an optional description.
Step 3 — Add paths (and exclusions)
Type or paste each path you want to include in the scan, then click  to add it.
Use  to remove an entered path.
NOTE
Both local and network paths are supported.
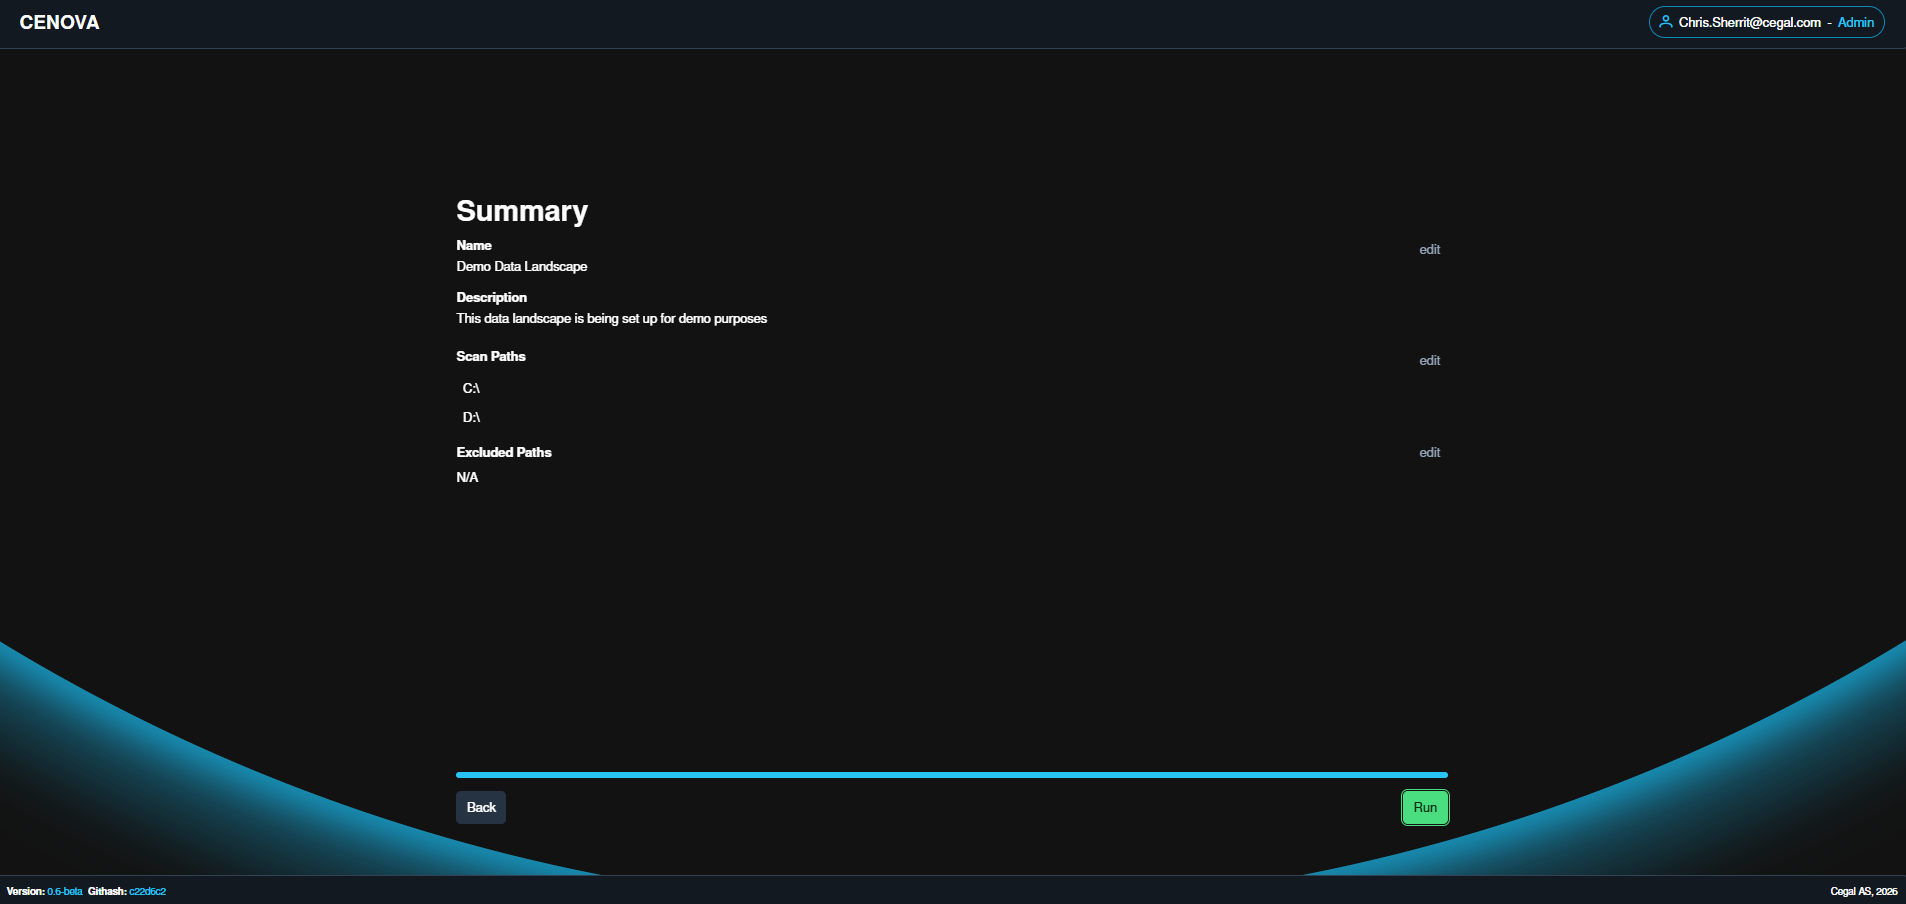
Step 4 — Review the summary
You'll see a summary of everything you've configured. Click Next to start the scan.
Step 5 — Wait for the scan
While the scan runs you'll see the loading screen.
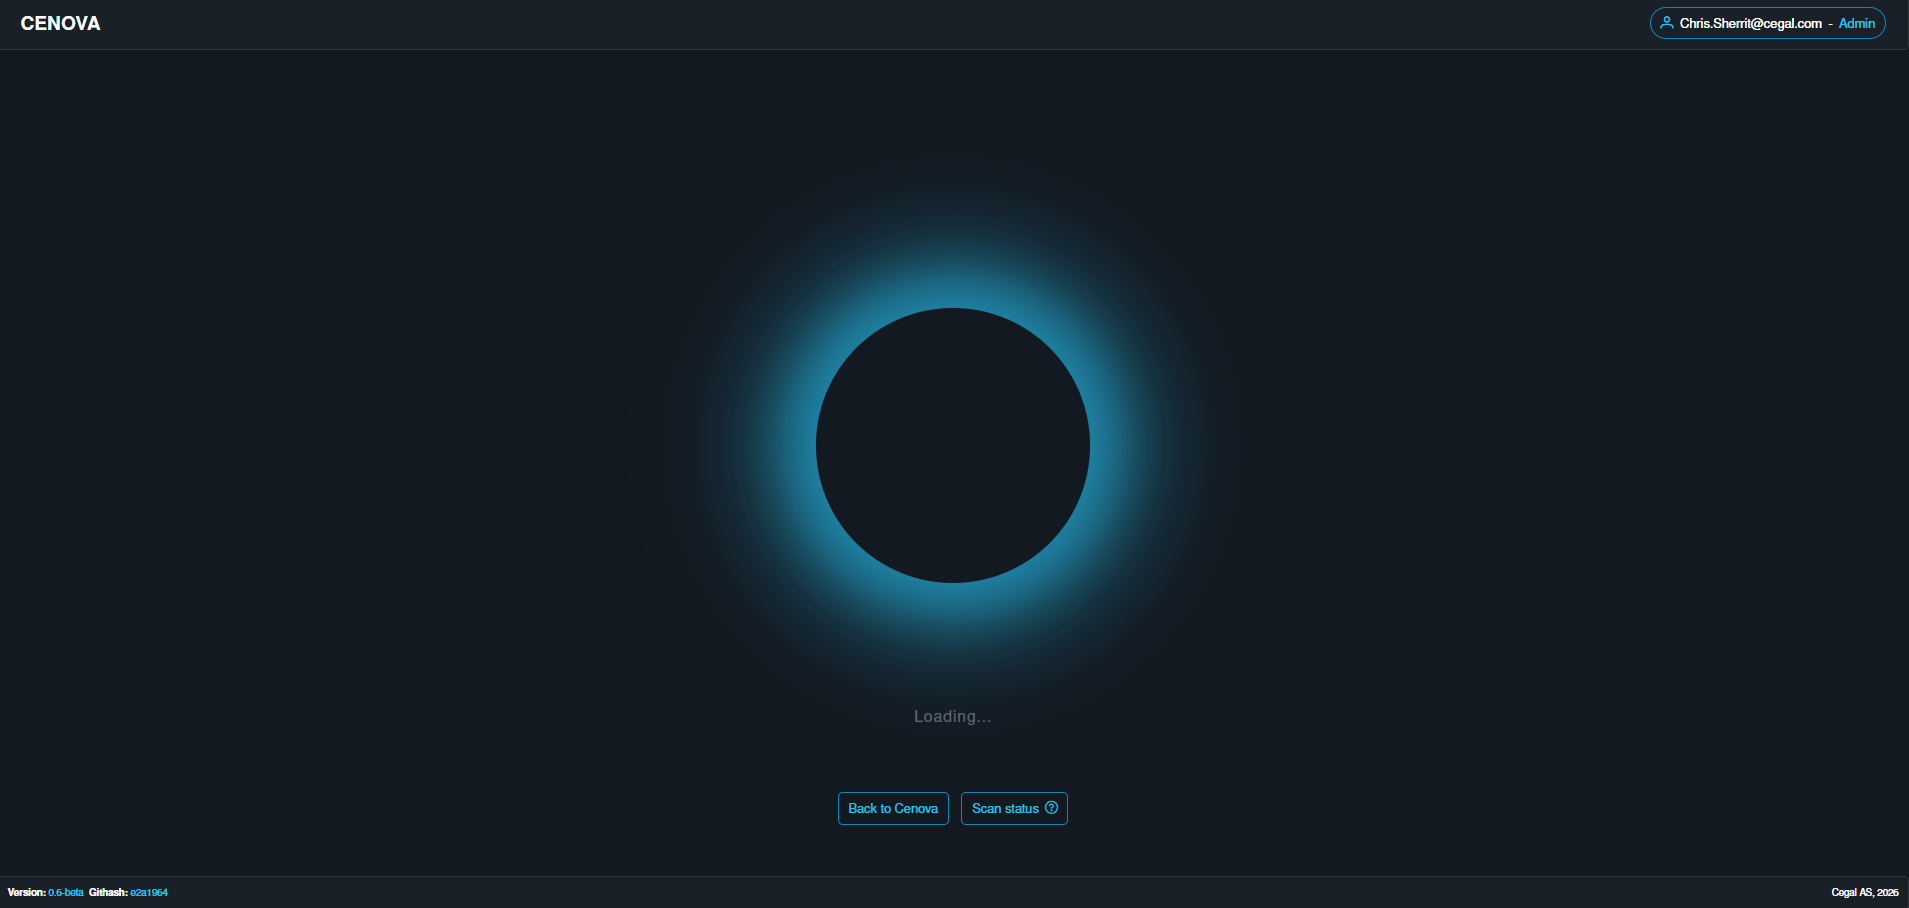
- Back to Cenova returns to the Home page. If your scan is still running, clicking the Command tile brings you back to this loading screen.
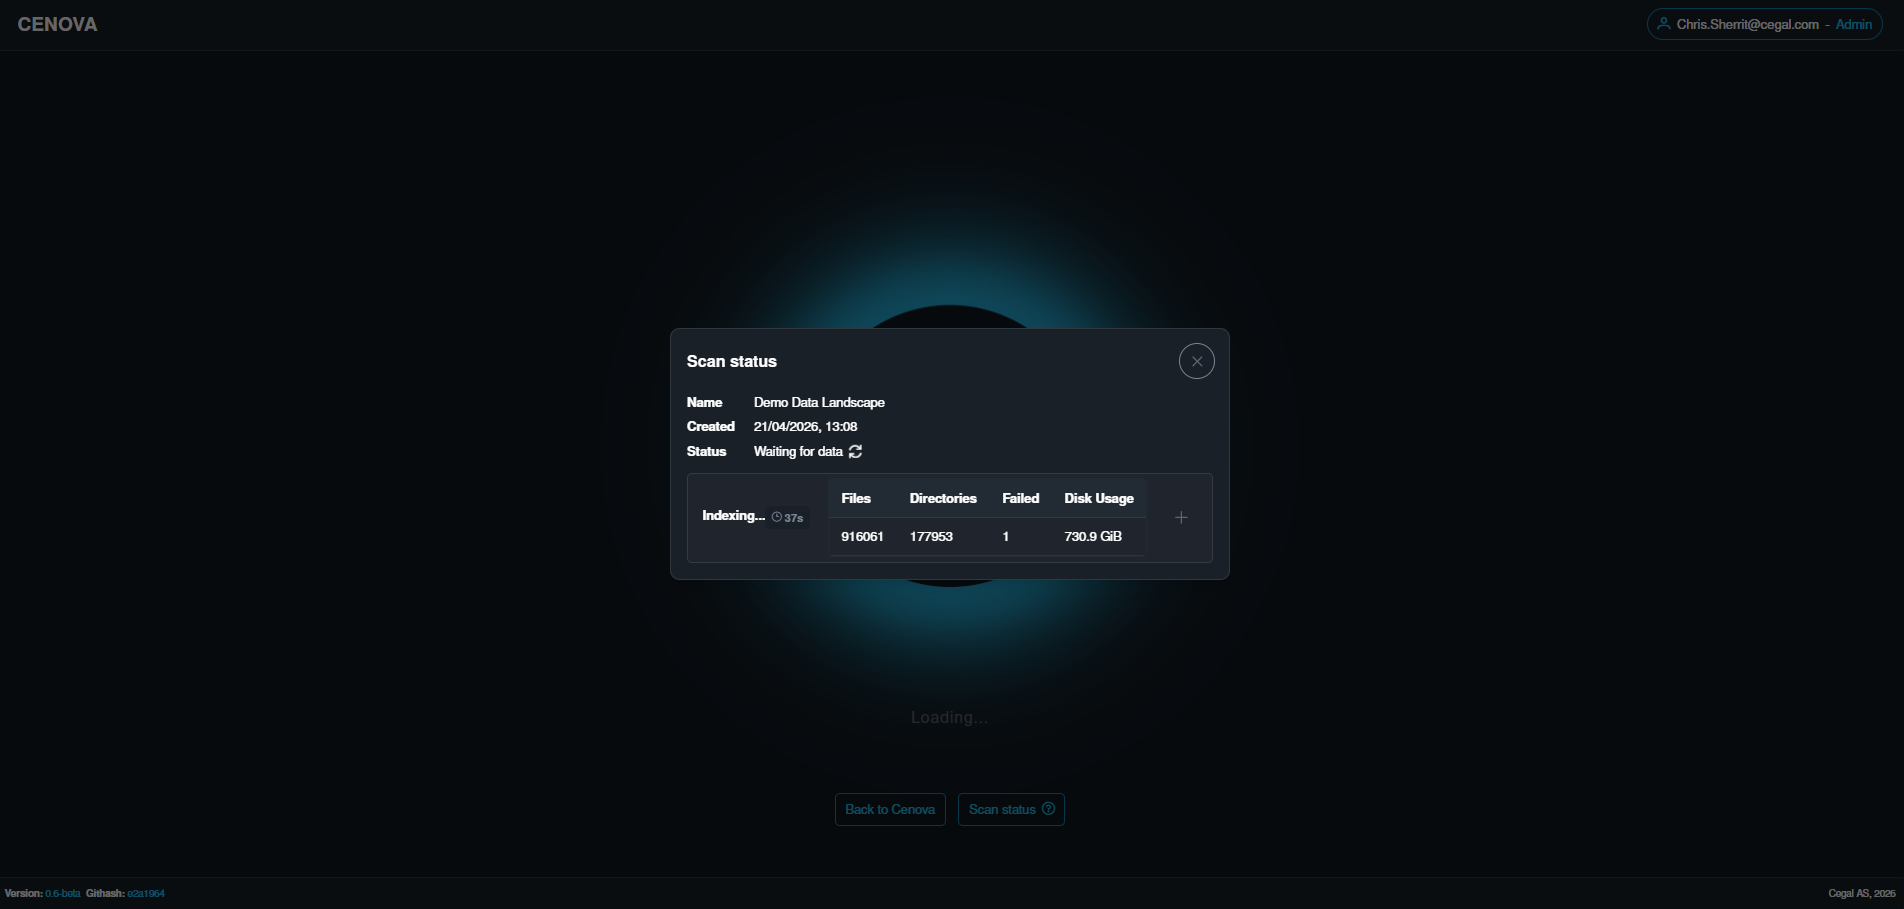
- Scan Status opens a more detailed view of the running scan.
2. Review the results
When the scan finishes, results are displayed in a predefined dashboard.
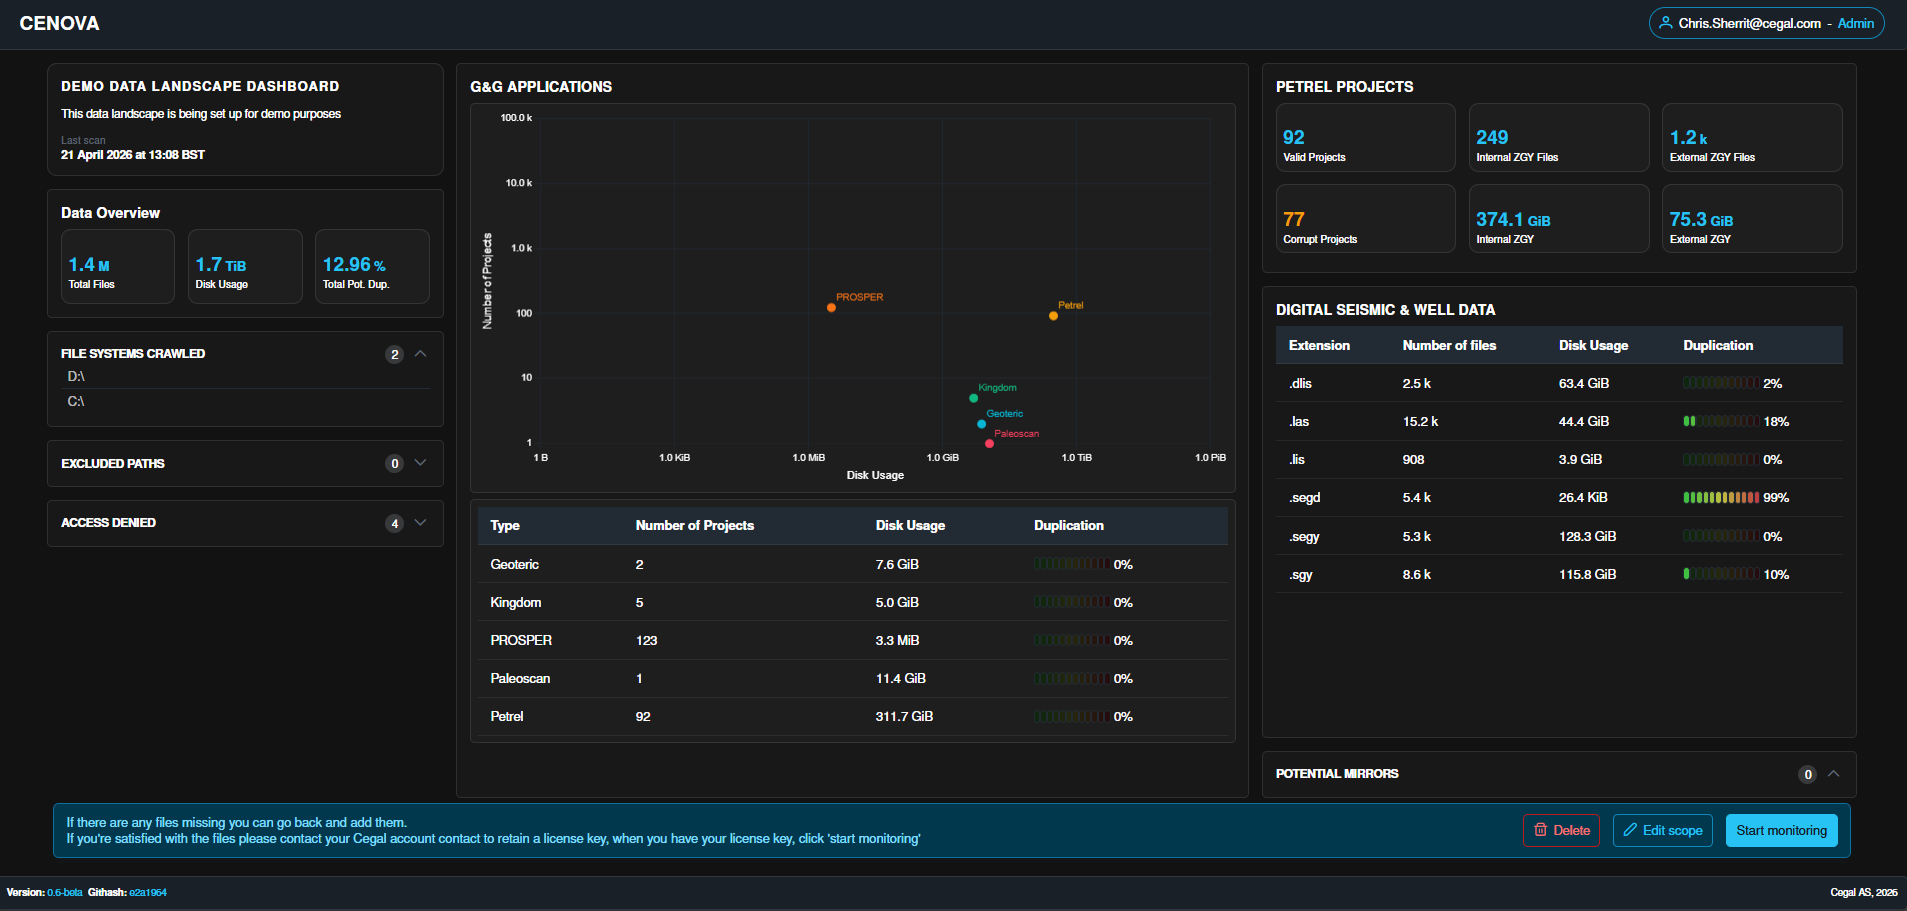
Dashboard components
| Component | What it shows |
|---|---|
| Last Scan | When the Pre-Assessment ran. |
| Total Files | Total number of files detected. |
| Disk Usage | Total space used by detected files. |
| File Systems Indexed | Drives or directories included in the assessment. |
| Excluded Paths | Paths you explicitly excluded. |
| Access Denied | Paths Cenova couldn't read due to permissions. |
| G&G Applications | Detected applications, with project counts, disk usage, and duplication percentage. |
| Petrel Projects | Petrel-specific metrics — valid vs. corrupt projects, plus internal/external ZGY file counts and sizes. |
| Potential Mirrors | Duplicate or mirrored data sources that may need review. |
3. Edit or delete a Pre-Assessment
| Action | How |
|---|---|
| Delete the Pre-Assessment | Click  |
| Edit name, description, or paths | Click  to step back through configuration to step back through configuration |
TIP
After editing the data landscape you'll need to re-run the Pre-Assessment for the changes to be reflected in the results.
4. Promote to scheduled monitoring
If the Pre-Assessment looks right and you want to track this configuration over time, click  .
.
This takes you into the Core Reporting setup flow. See the Core Reporting guide for the next steps.
Where to next
- Get the wider picture in How it works.
- Continue into Core Reporting to schedule recurring scans.
- Need help? See Support.
- Not installed yet? Follow the Installation guide.