How it works
This page introduces the Cenova Command user interface — the Home page, the Cenova modules you'll use day-to-day, and the Admin area for managing users, schedules, and indexes.
At a glance
- Default URL: http://localhost:9797 (on the Cenova Server VM)
- First user to log in becomes an Admin automatically
- Two role types: Admin and Standard
- Need to install Cenova first? See the Installation guide.
1. Home page
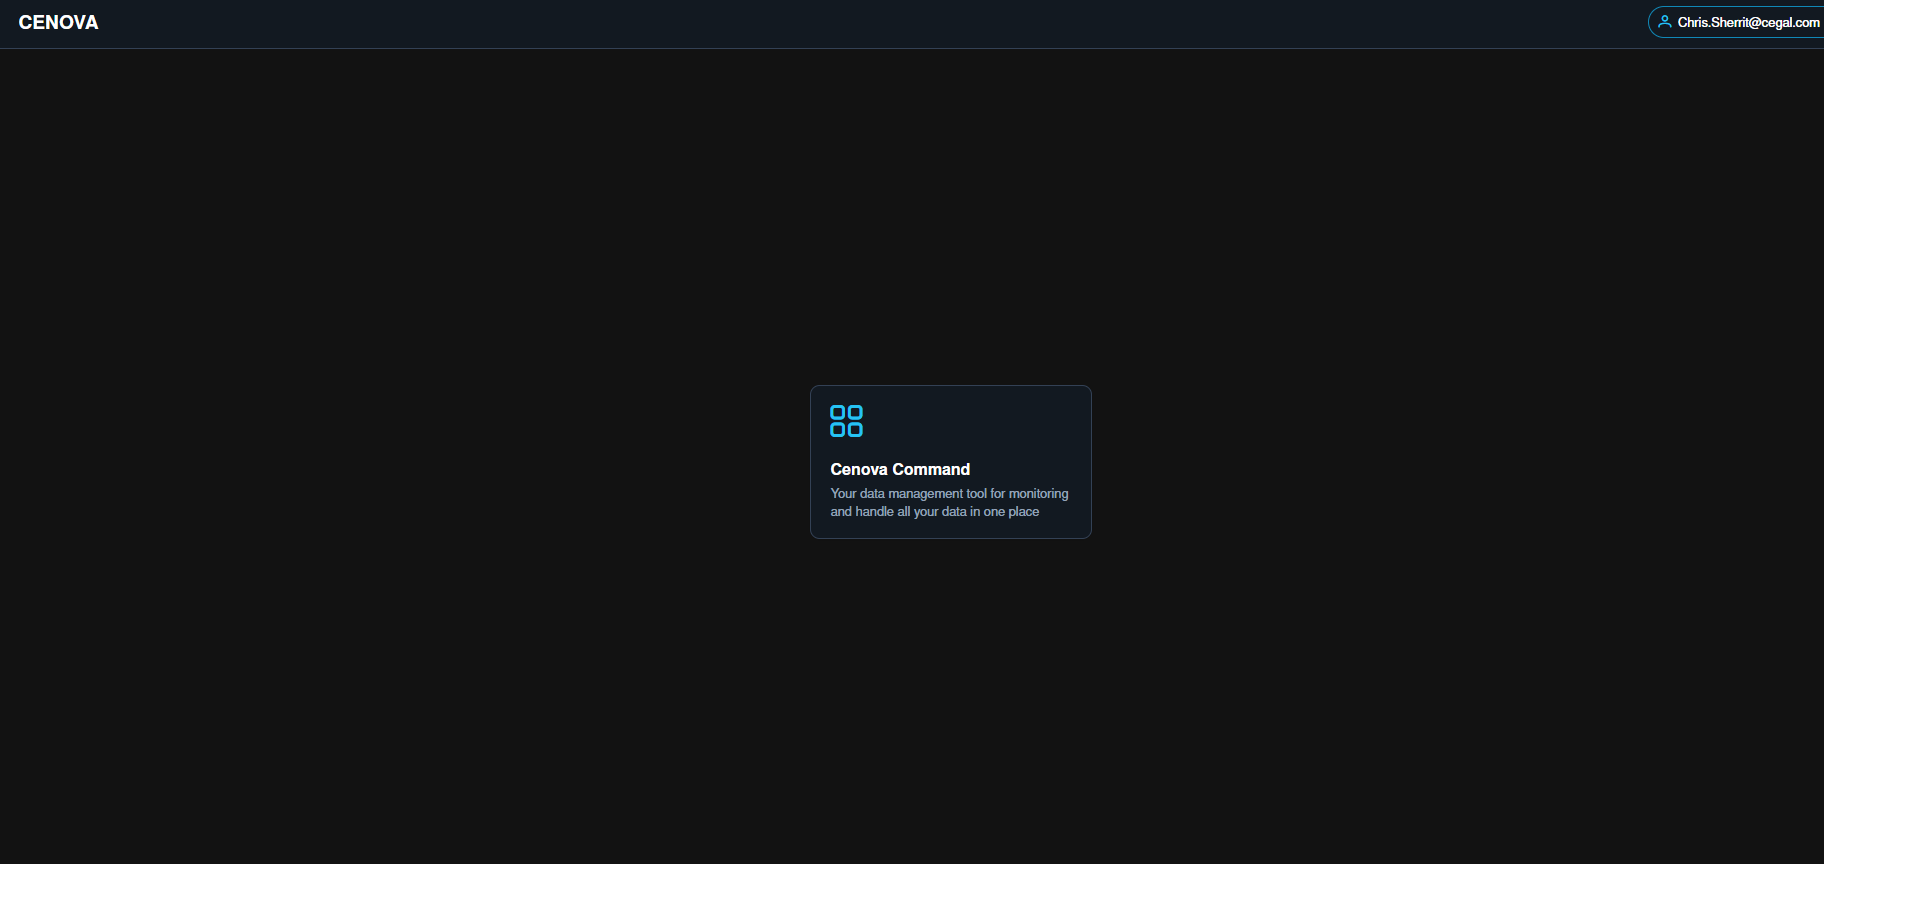
The Home page is the main entry point. It shows tiles for every module your license unlocks.
2. Cenova modules
| Tile | What it does |
|---|---|
| Command | Define the data landscape to be scanned. From here you start a Pre-Assessment or move into ongoing Core Reporting. |
3. Admin area
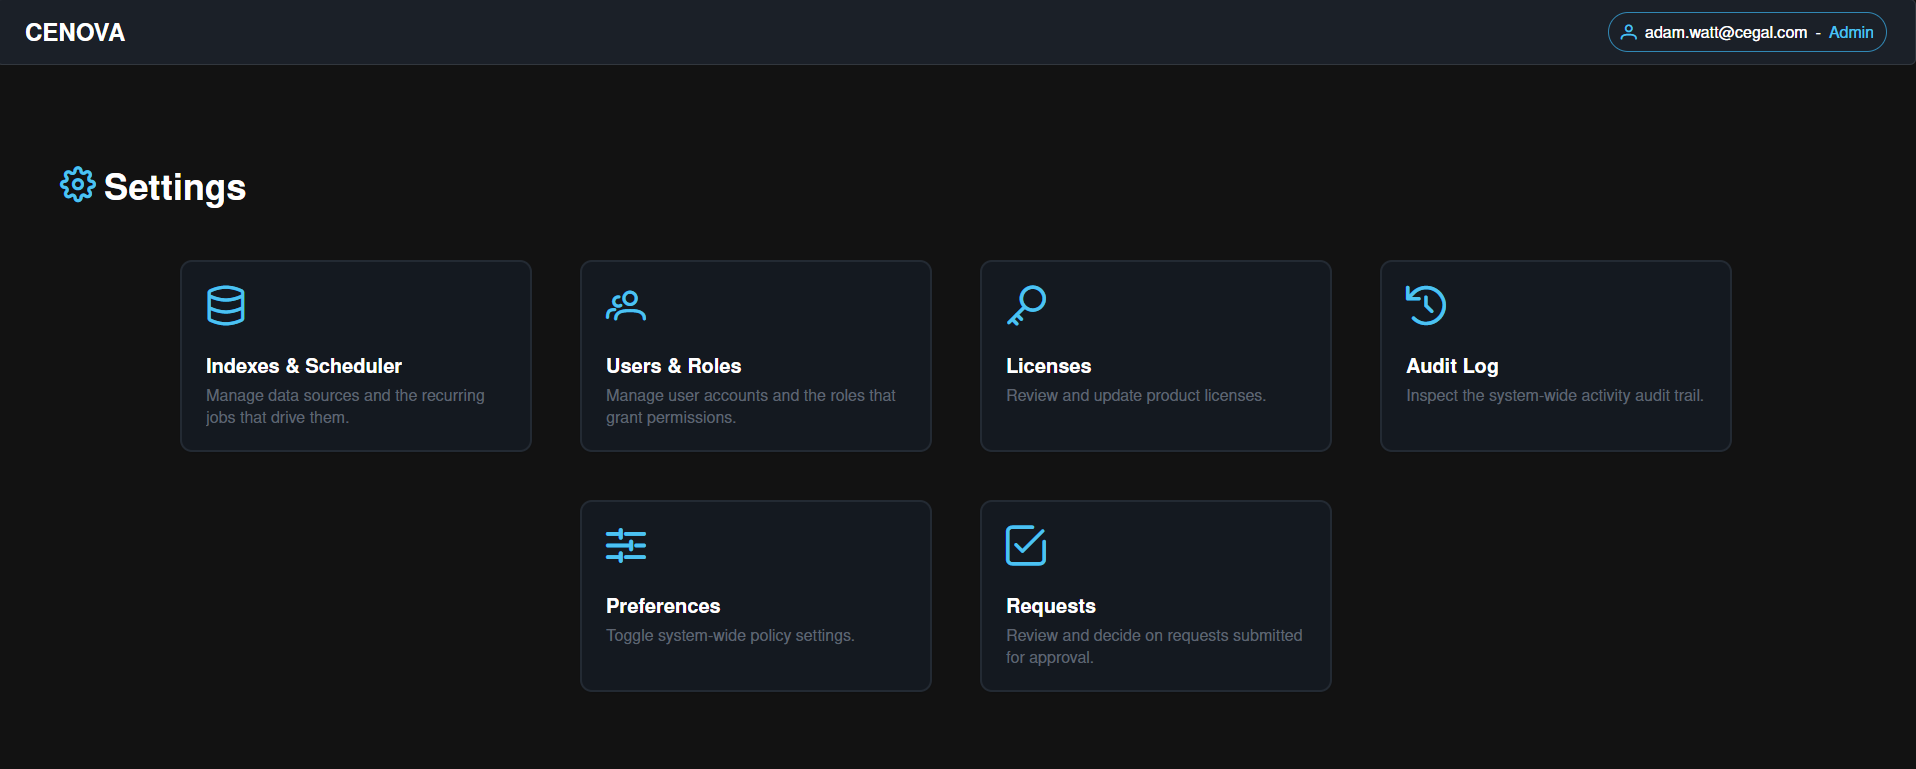
The Settings area gives administrators control over licensing, indexes, schedules, users, roles, system-wide preferences, a complete activity history, and visibility of any pending or completed user requests.
3.1 Licenses
View and manage license allocations across the available Cenova modules.

3.2 Indexes
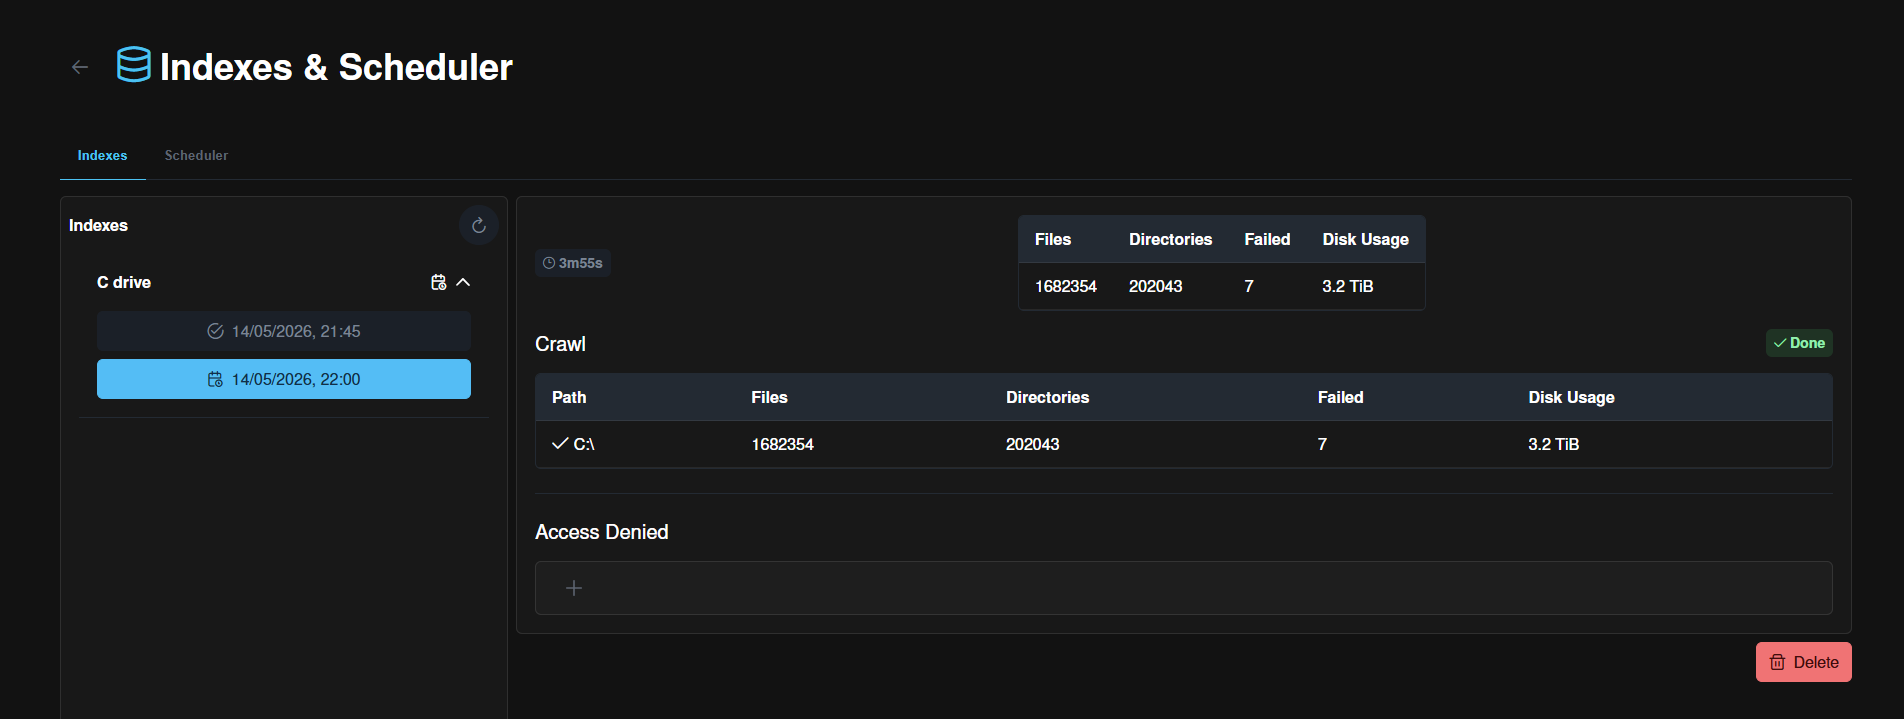
Review previous indexing runs and inspect key metrics for each: path, file count, directories, failed directories, disk usage, access-denied paths, and overall status.
3.3 Scheduler
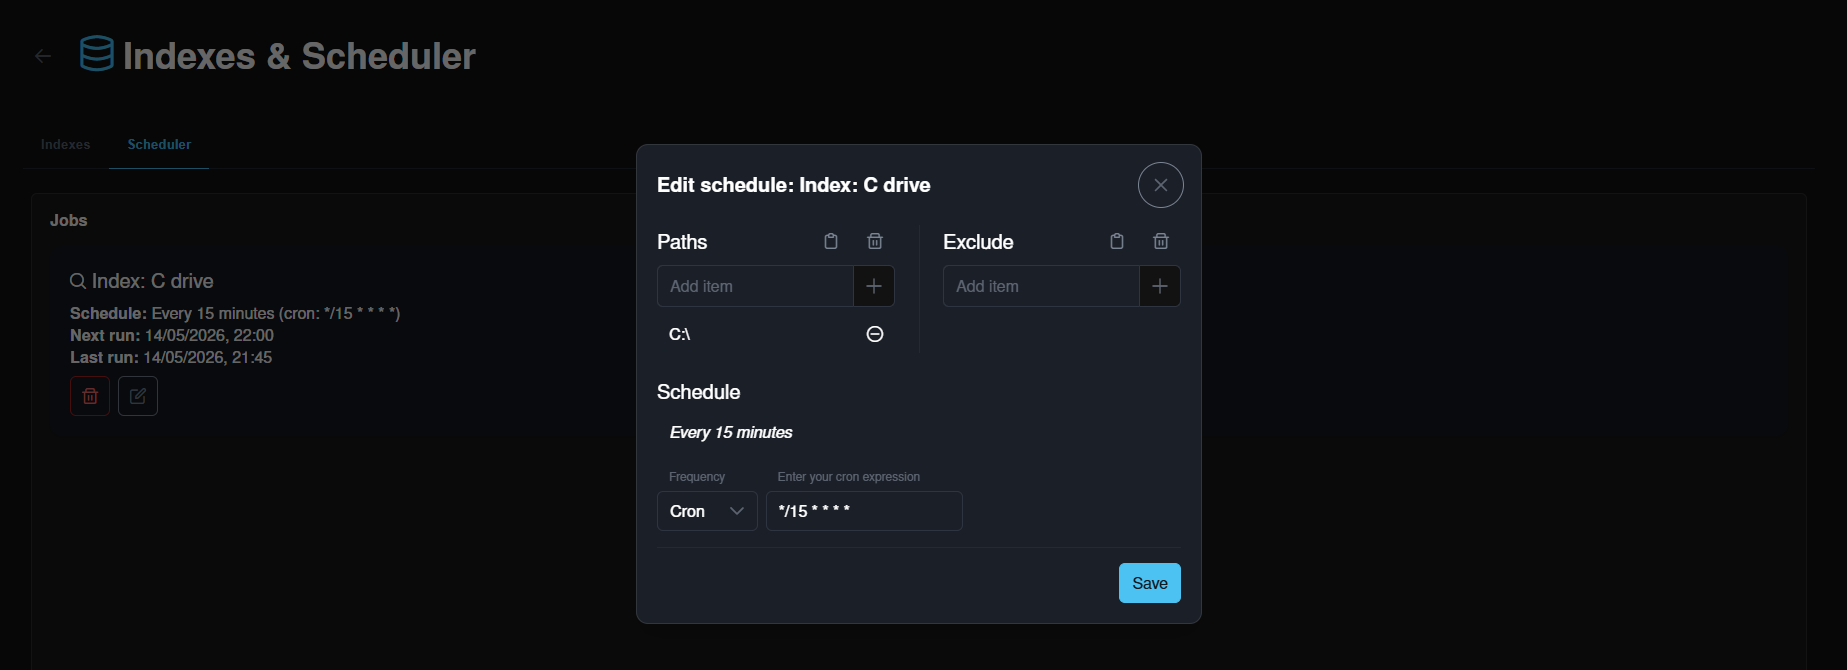
View, edit, and delete scheduled scans. You can change the included paths, exclude specific files, and adjust how often the scan runs.
TIP
What is a cron expression?
A cron expression is a compact string that defines a recurring schedule. It's made up of five fields, separated by spaces, that represent — in order — the minute, hour, day of the month, month, and day of the week on which a job should run.
┌───────────── minute        (0–59)
│ ┌───────────── hour        (0–23)
│ │ ┌───────────── day of month (1–31)
│ │ │ ┌───────────── month   (1–12)
│ │ │ │ ┌───────────── day of week (0–6, Sunday = 0)
│ │ │ │ │
* * * * *
An asterisk (*) means "every" value for that field. A few examples:
| Expression | Meaning |
|---|---|
0 6 * * * | Every day at 06:00 |
30 2 * * 1 | Every Monday at 02:30 |
0 0 1 * * | At midnight on the 1st of every month |
0 */4 * * * | Every 4 hours, on the hour |
Use a custom cron expression when the built-in schedules don't fit your needs — for example, running a scan only on weekdays or several times a day. If you're unsure how to write one, tools like crontab.guru can help you build and validate expressions.
3.4 Users and Roles
Users
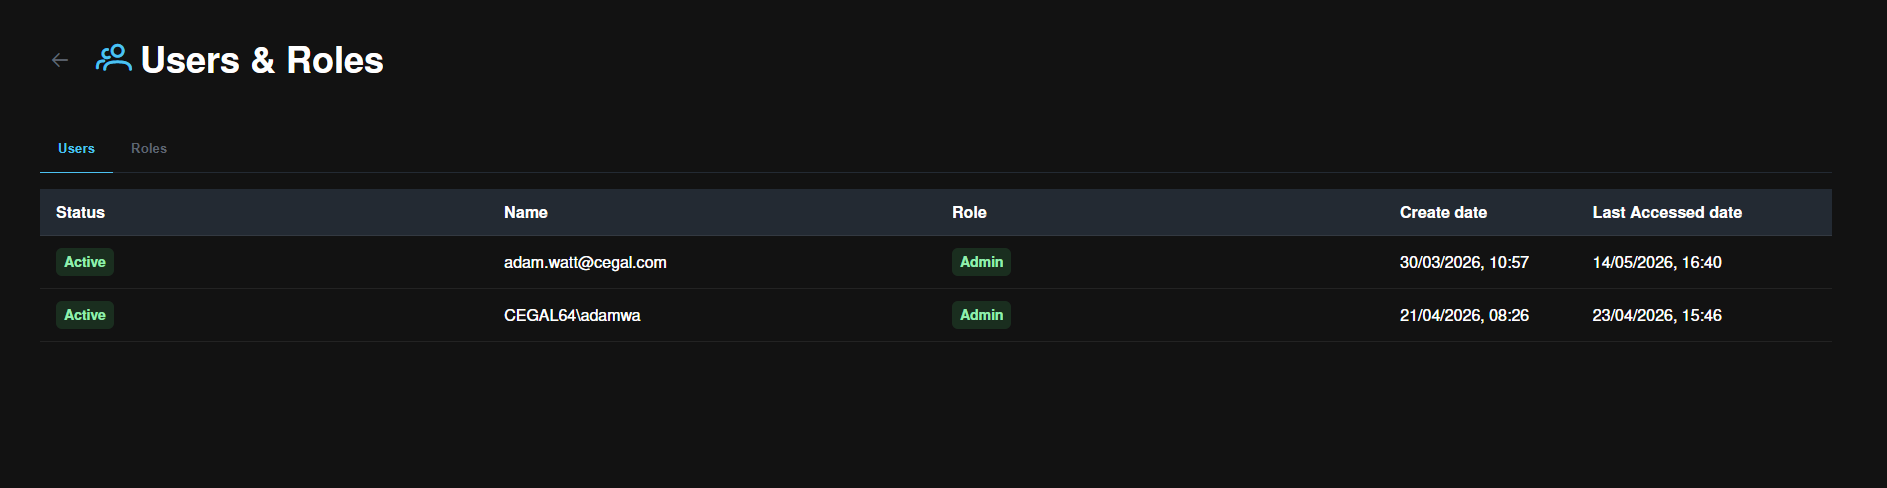
The Users view lists everyone who has logged in to Cenova, with their role (Admin or Standard), creation date, and last access time. Admins can change the role assigned to other users.
NOTE
If only one user exists in Cenova, role selection is disabled — there must always be at least one Admin.
Roles
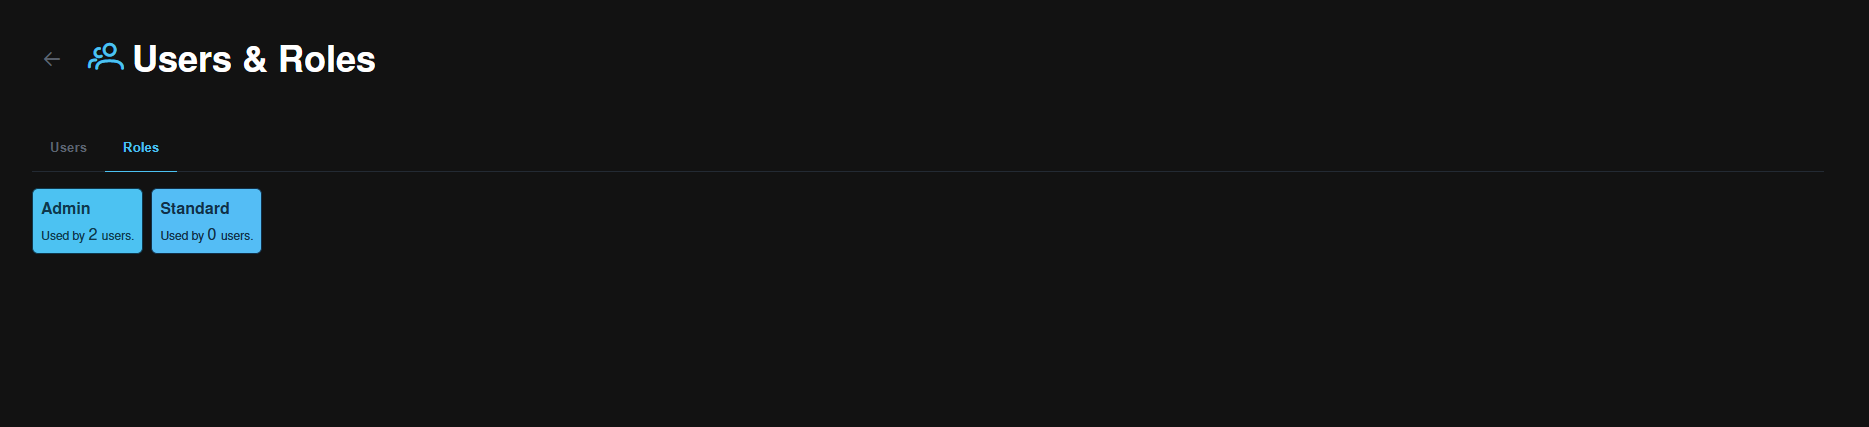
The Roles view shows how many users hold each role.
NOTE
The first user to log in to Cenova after installation is automatically assigned the Admin role.
Preferences
Configure system-wide behavior for Cenova. Today this is where you control the request approval policy — specifically whether the requester and approver must be different users, or whether the same user is allowed to both raise and approve a request.

| Setting | Options |
|---|---|
| Distinct request approver | On (default) — the user who submits a request cannot also approve it. Off — the same user may both request and approve. |
TIP
Leave Distinct request approver on to enforce separation of duties for sensitive actions such as Data Hygiene deletions.
Audit log
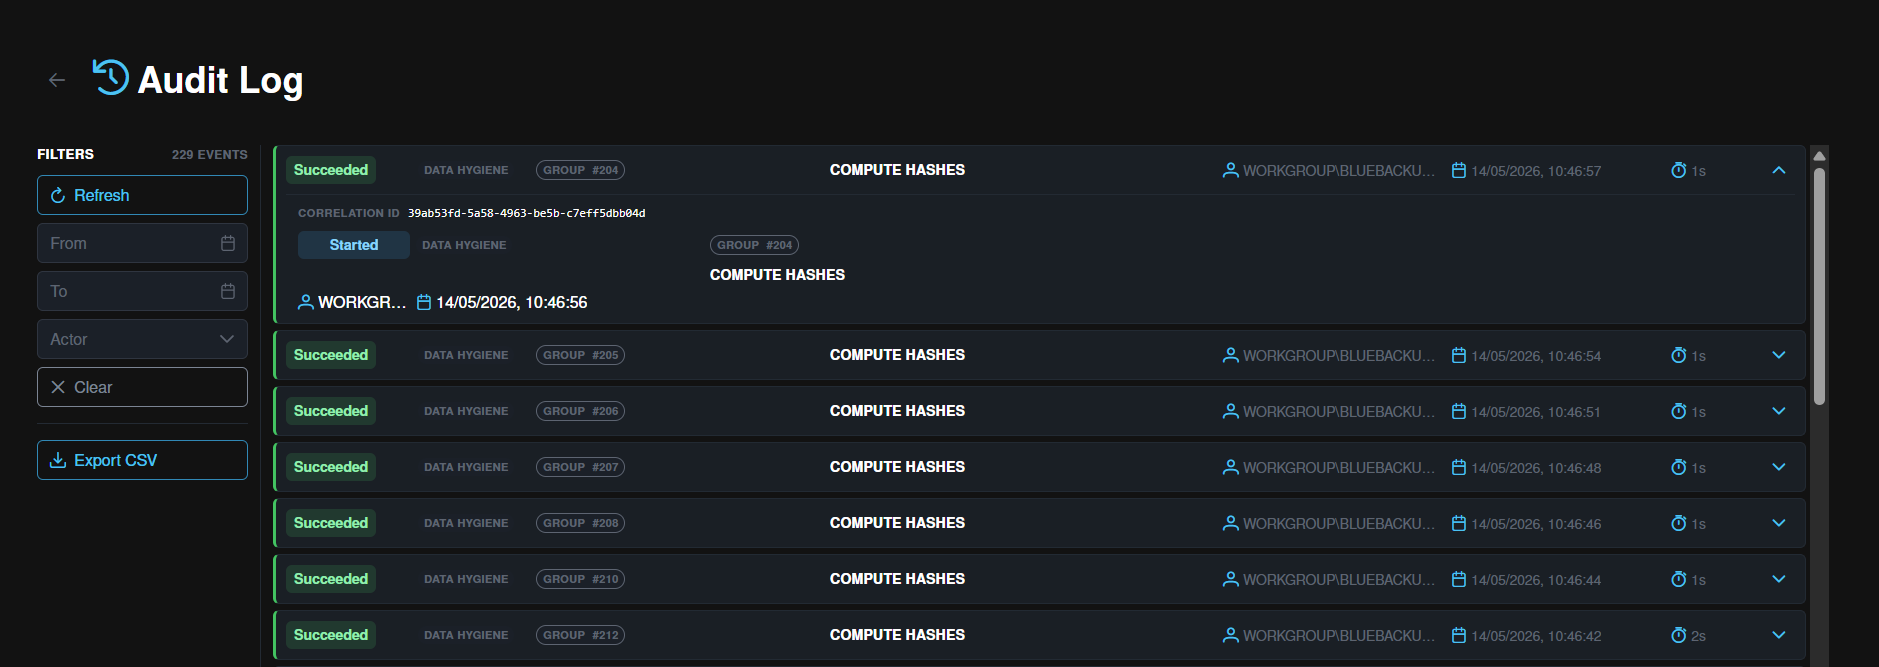
A complete, searchable record of every action carried out in the system. Use it for compliance reviews, incident investigation, or simply to see who did what and when.
- Each entry captures the action, the user who performed it, the affected item(s), and a timestamp.
- The log can be searched and filtered, and exported in full or filtered form.
- Retention is configurable by an administrator.
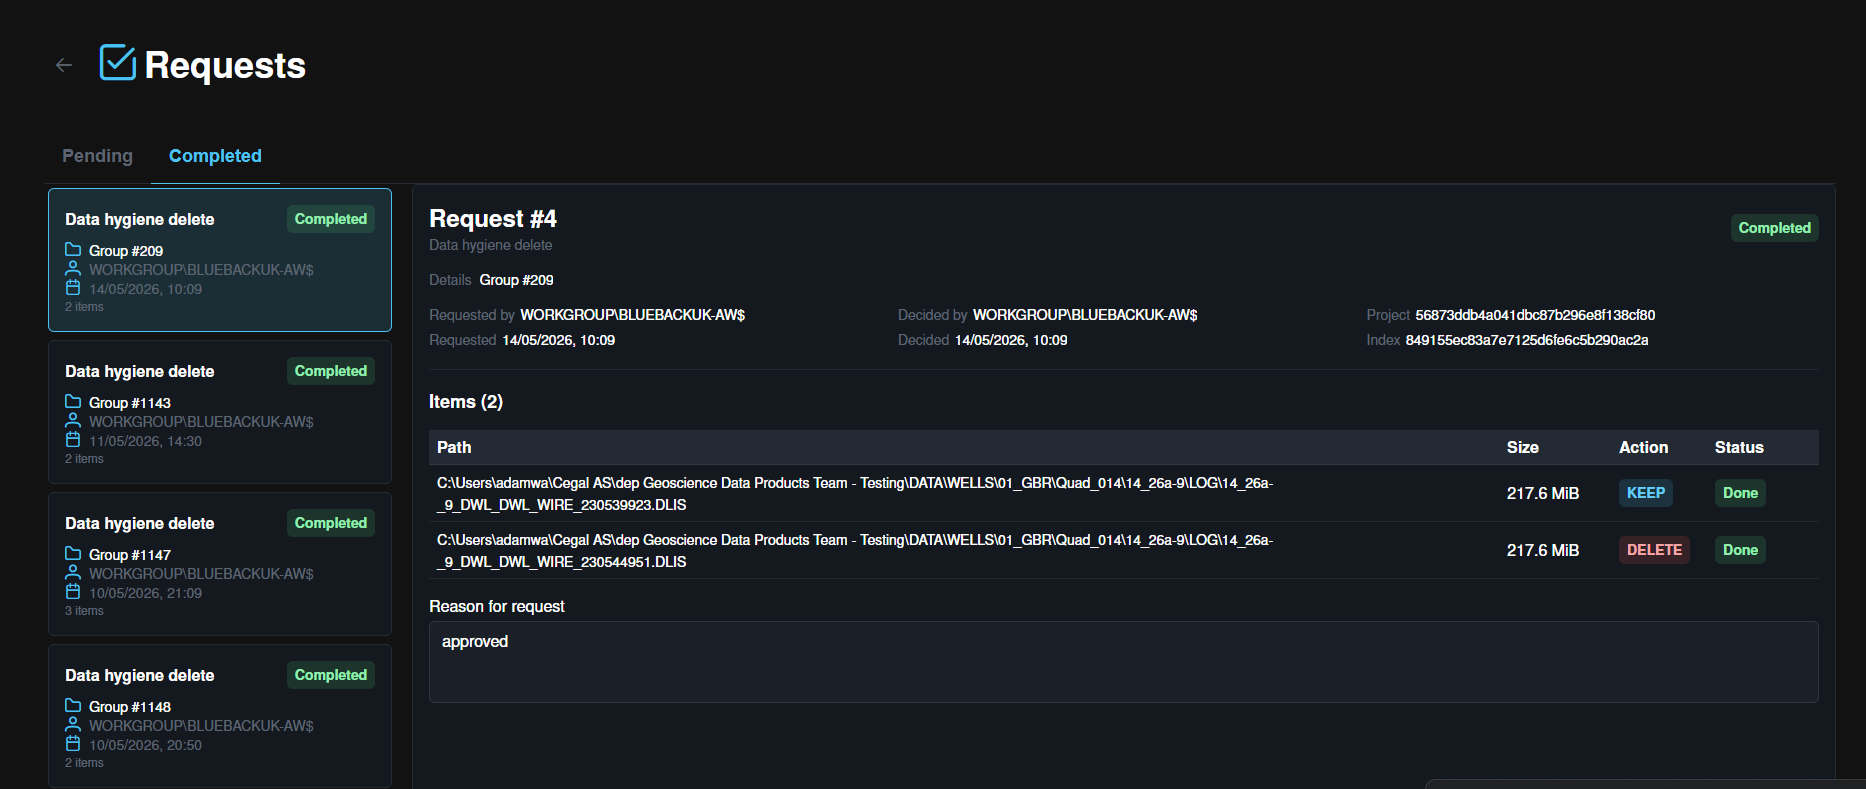
Requests
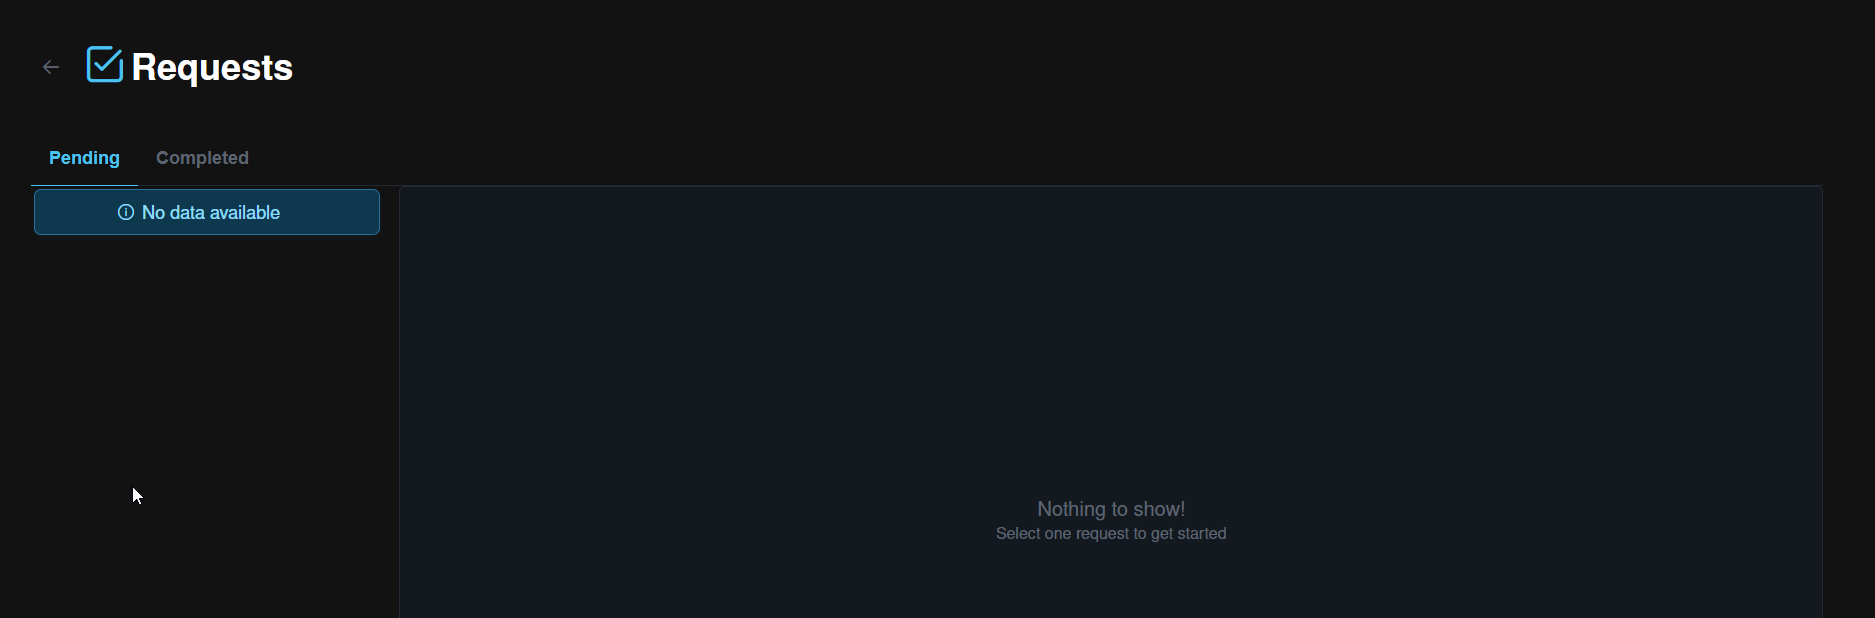
A central list of every request raised in the system, in one place.
- Pending — requests awaiting an approver's decision.
- Completed — requests that have been approved or denied, with the outcome and approver recorded.
- Admins can open a request to review its details and approve or deny it (subject to the Distinct request approver preference above).
NOTE
Requests raised through workflows such as Data Hygiene (e.g. file deletions) flow into this view, alongside their entries in the audit log.
4. Where to next
- Run your first scan → Pre-Assessment
- Set up scheduled monitoring → Core Reporting
- Need help? → Support