Installation guide
This guide walks you through installing Cenova Command on a Windows Server, configuring authentication, activating your license, and performing common administrative tasks.
At a glance
- Install method: single Windows MSI
- Default URL after install: http://localhost:9797
- Two authentication options: Keystone (cloud) or Keystone On-Prem (on-prem)
- Index footprint: roughly 6 GB per 1 PB of scanned data
1. Before you begin
1.1 System requirements
Make sure the target host meets the following:
| Requirement | Detail |
|---|---|
| Operating system | Microsoft Windows Server 2012 R2 or newer (64-bit). Windows Server 2012 R2 is the recommended baseline; Windows Server 2012 and Windows Server 2016 are also supported. |
| Memory | 4–8 GB RAM minimum |
| Permissions | Local Administrator on the server |
| Installer | Cenova MSI (provided by Cegal) |
| Network | HTTP access on port 9797 for end users |
| Disk space | Enough free space on a local physical disk for the Cenova index — see 1.3 Storage planning |
Supported Windows Server operating systems
| Operating system | Architecture / edition |
|---|---|
| Microsoft Windows Server 2008 R2 with Service Pack 1 | 64-bit, Enterprise or Professional editions |
| Microsoft Windows Server 2012 | 64-bit |
| Microsoft Windows Server 2012 R2 (recommended) | 64-bit |
| Microsoft Windows Server 2016 | 64-bit |
1.2 Choose an authentication method
Cenova authenticates users with OAuth2 + OpenID Connect. Pick one of the two providers below before installing.
| Keystone (cloud) | Keystone On-Prem | |
|---|---|---|
| Identity backend | Cegal IAM, backed by your Entra ID tenant | Integrated Windows Authentication |
| Internet required | Yes | No |
| Pre-install action | Cegal must assign your tenant a client ID | Install the Keystone On-Prem MSI first |
| Best for | Organizations already using Entra ID / Cegal IAM | Air-gapped or domain-only environments |
Keystone (cloud) — what to prepare
- Tell Cegal the DNS name / URL of the server you will install Cenova on.
- Cegal will provision your tenant and provide a client ID that you'll enter during installation.
NOTE
If this is the first Keystone-supported software in your organization, your Entra ID administrator must approve the Keystone app registration in your tenant.
Read more about Cegal Keystone in the Keystone documentation.
Keystone On-Prem — what to prepare
- Run the Keystone On-Prem MSI before installing Cenova. It can run on the same VM as Cenova or on a separate domain-joined VM.
- By default Keystone On-Prem listens on port 80. You can change this later in
appsettings.json(see 5. Configure Keystone On-Prem).
1.3 Storage planning
Cenova builds and maintains an index of the data it scans. Plan for free disk space on the host before installing.
- Expected index size: roughly 0.001% of scanned data (~6 GB per 1 PB).
- Reference point: a real-world 9 PB data landscape produced an index of about 57 GB.
- Default location:
C:\ProgramData\Cegal\Cenova— can be relocated post-install (see 7. Relocate the index and project databases).
TIP
Use a local SSD for the index. Network shares are not recommended for performance and reliability reasons.
2. Install Cenova
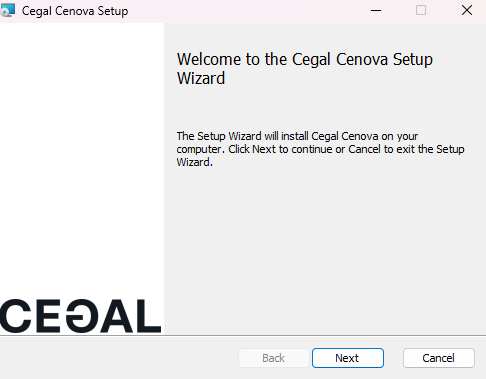
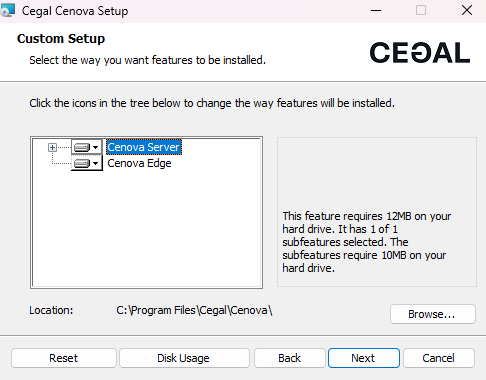
Step 1 — Run the Cenova MSI
Locate and run the Cenova MSI installer on your Windows Server.

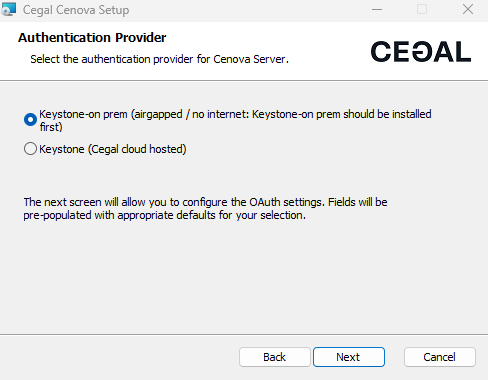
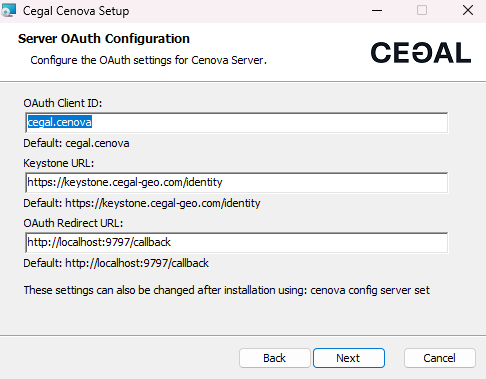
Step 2 — Choose the authentication provider
Pick Keystone or Keystone On-Prem (the choice you decided on in 1.2).
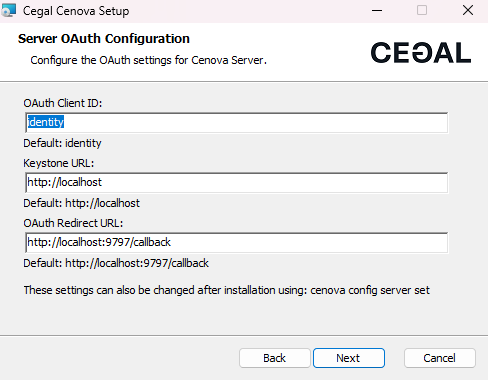
If you chose Keystone On-Prem
Enter all details exactly as configured in your Keystone On-Prem deployment.
NOTE
You will need to add the Cenova Redirect URL to your Keystone On-Prem appsettings.json after install — see 5. Configure Keystone On-Prem.
If you chose Keystone (cloud)
Enter the client ID Cegal provided you, along with the other connection details.
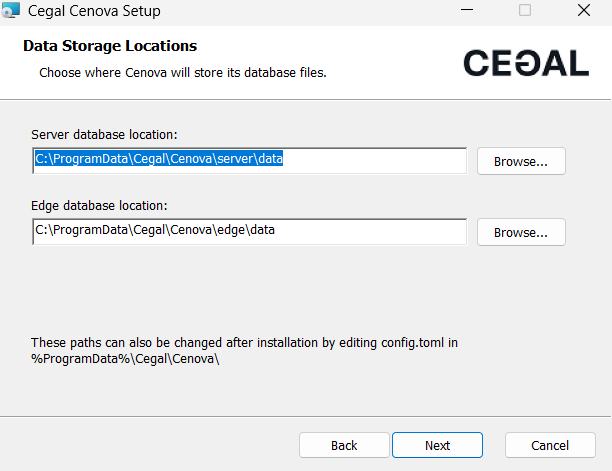
Step 3 — Choose database storage locations
The installer lets you set where Cenova's databases are stored on disk. You can pick a separate path for each:
- Server database location — holds Cenova Server's catalog, configuration, and reporting data.
- Edge database location — holds the Cenova Edge scan index for the host.
Accept the defaults under C:\ProgramData\Cegal\Cenova or browse to a different drive/folder (for example, a larger data volume).
TIP
Point the databases at a drive with plenty of free space if you plan to scan large estates. The chosen paths must be writable by the Cenova Edge service account configured in the next step.
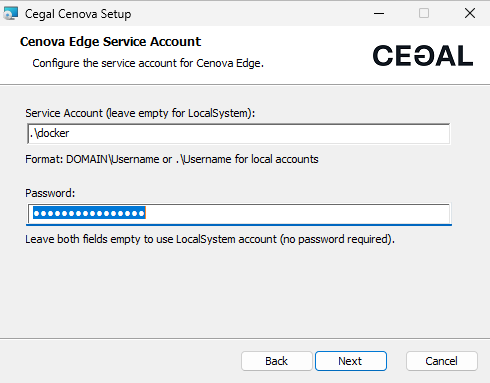
Step 4 — Set the service account
The installer will prompt you for an account to run the Cenova Edge service. This account must have read access to the file shares you want to scan.
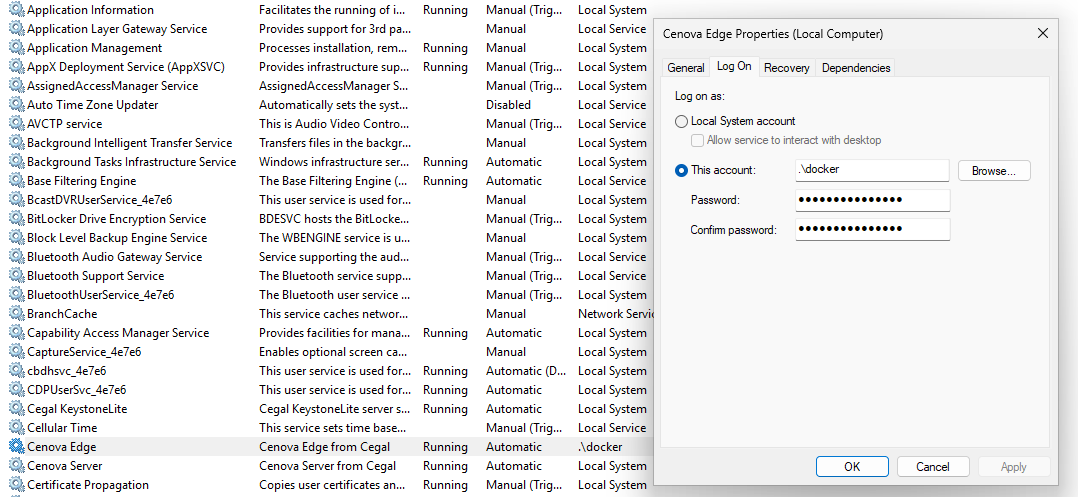
TIP
If the default account doesn't have access to your network drives, change the service Log On user after install:
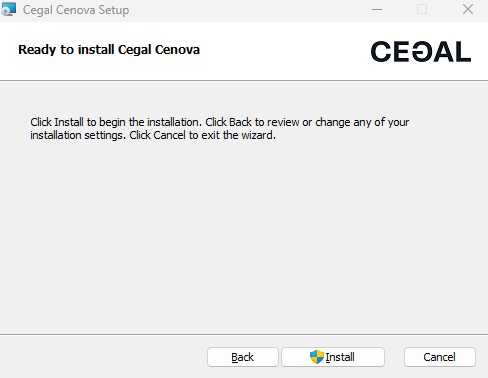
Step 5 — Grant elevated permissions
When prompted, grant administrator (elevated) permissions so the installer can register the Windows services.
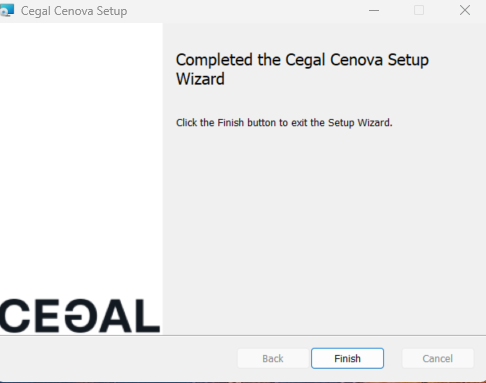
Step 6 — Verify the installation
After the installer finishes, confirm two Windows services are installed and running:
- Cenova Edge
- Cenova Server

Then open the web app:
- Locally on the server: http://localhost:9797
- A desktop shortcut is also created for convenience:

3. Activate your license
Open the Cenova web app — you'll see the login screen.
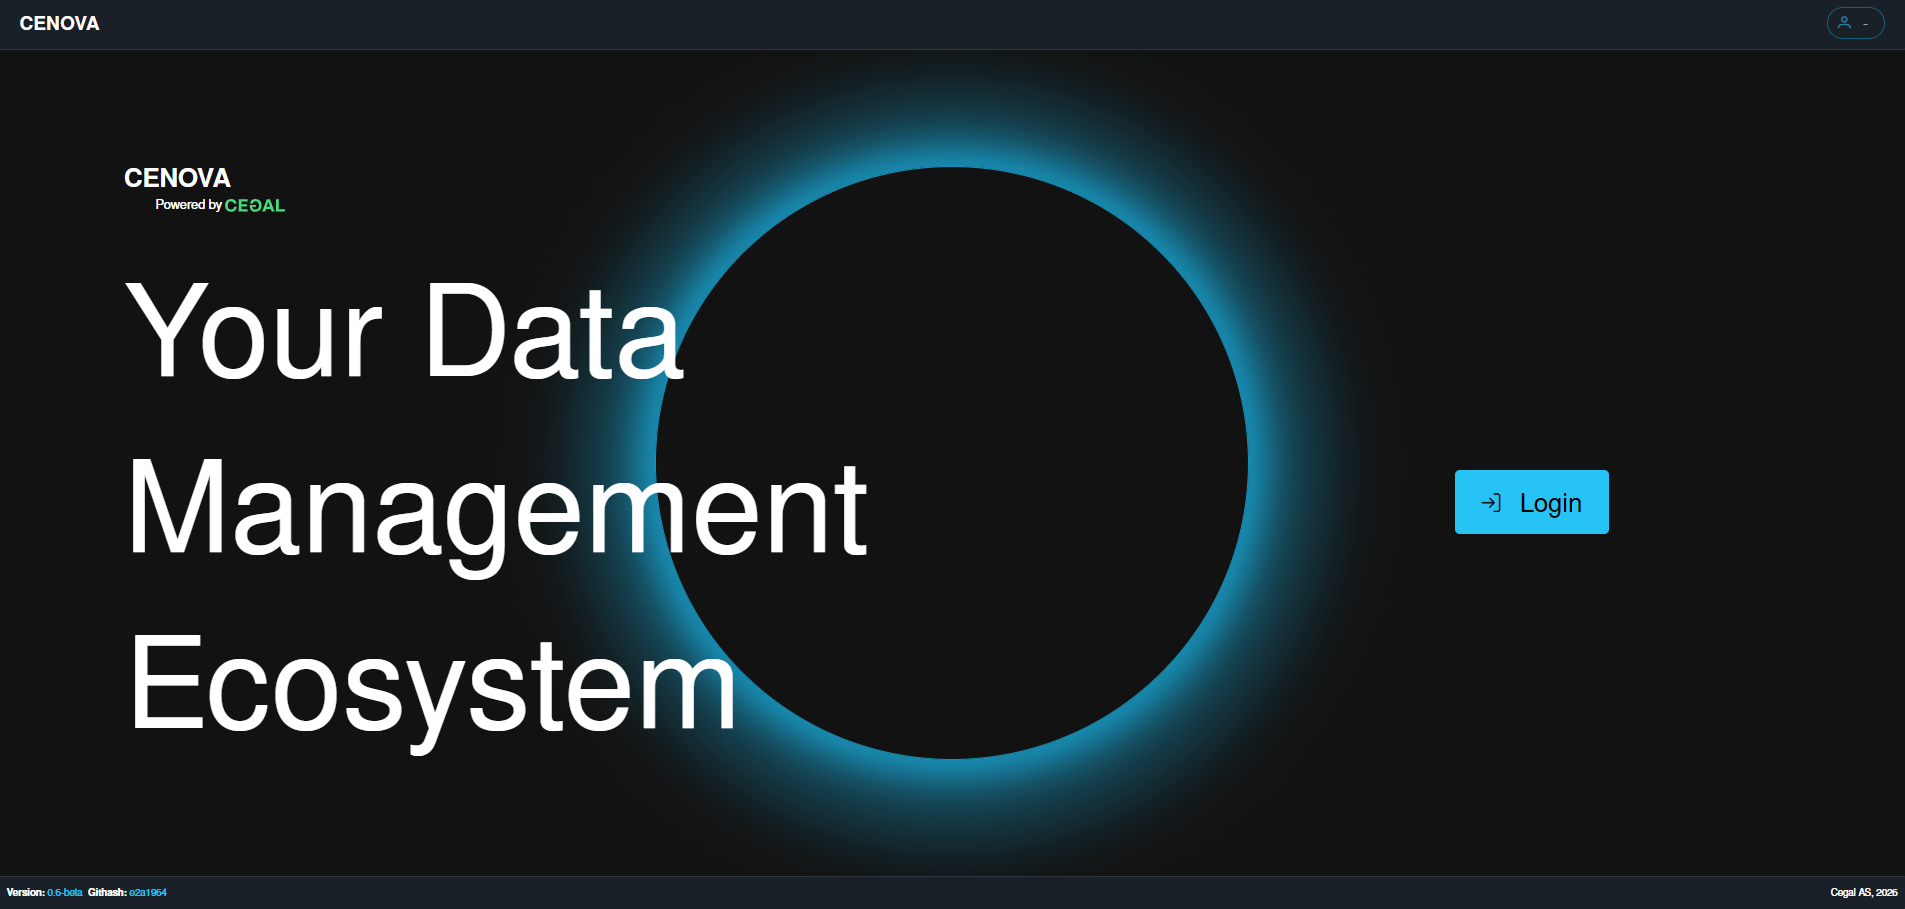
Click Login — you'll be sent through whichever authentication provider you configured.
After signing in, you'll be prompted for a license key.
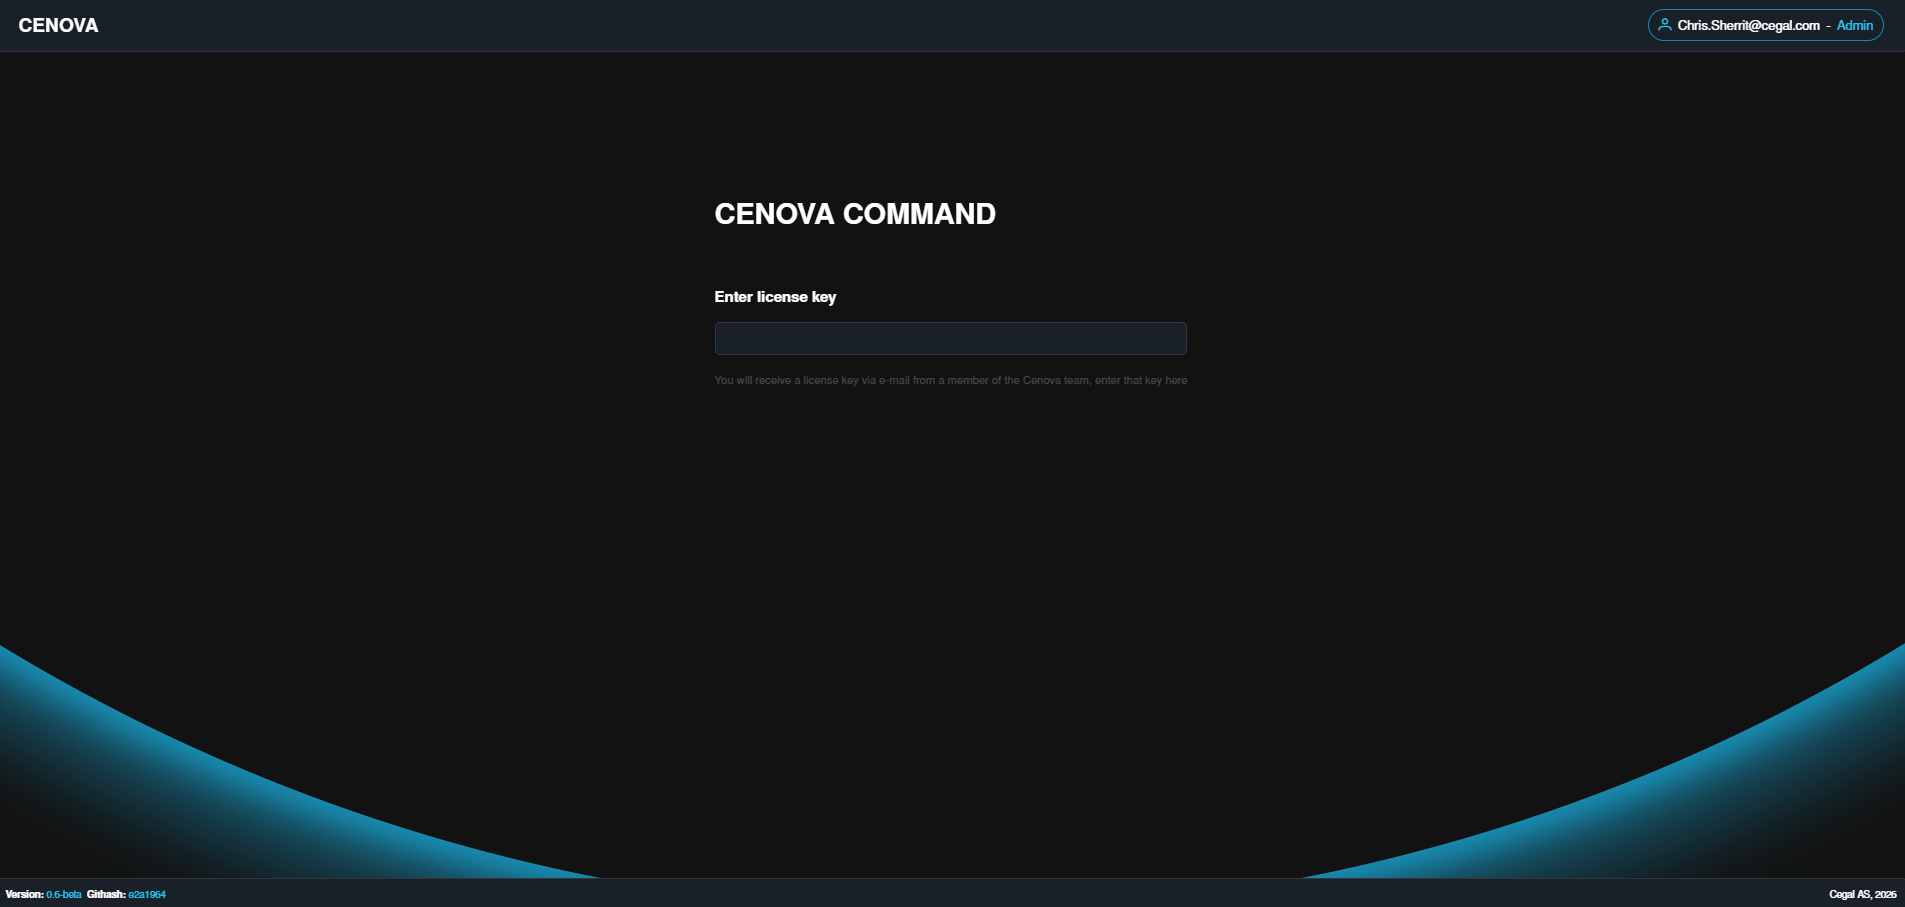
Enter your license key to activate Cenova. Each key unlocks a specific module.
TIP
Need a license key? Email support.geo@cegal.com.
Once activated you'll be taken into the data landscape configuration flow — see the Pre-Assessment guide for the next steps.
4. Open firewall ports for remote access
By default, Cenova is only reachable from the machine it is installed on (via localhost). To access Cenova from other machines on the network, you must open the relevant ports in Windows Firewall (and any network firewalls between the clients and the server).
| Component | Port | When to open |
|---|---|---|
| Cenova | TCP 9797 | Always required for remote access to the web app. |
| Keystone On-Prem | TCP 80 (default) | Only if you use Keystone On-Prem for authentication. Open whichever port it is configured to listen on. |
NOTE
If you changed the Keystone On-Prem port from the default 80 (see 5. Configure Keystone On-Prem), open that port instead.
Example — add inbound Windows Firewall rules with PowerShell (run as Administrator):
powershell
# Cenova web app
New-NetFirewallRule -DisplayName "Cenova (9797)" -Direction Inbound -Protocol TCP -LocalPort 9797 -Action Allow

# Keystone On-Prem (only if used; adjust the port if you changed it)
New-NetFirewallRule -DisplayName "Keystone On-Prem (80)" -Direction Inbound -Protocol TCP -LocalPort 80 -Action Allow
WARNING
If users cannot reach Cenova from outside the server even after opening these ports, confirm that Keystone On-Prem's port is also open — sign-in will fail if the authentication provider is unreachable from the client machine.
Test the port from a client machine
From a different machine on the network, verify the port is reachable. Replace SERVER with the Cenova server's hostname or IP address, and the port with 9797 (Cenova) or 80 (Keystone On-Prem).
PowerShell
powershell
Test-NetConnection -ComputerName SERVER -Port 9797Look for TcpTestSucceeded : True in the output, which confirms the port is open and reachable.
Command Prompt (cmd)
cmd has no built-in port tester, so use the bundled curl (Windows 10/11 and Windows Server 2019+):
cmd
curl -v telnet://SERVER:9797A successful connection prints Connected to SERVER. A failure shows Connection refused or a timeout.
NOTE
ping SERVER only checks basic host reachability (ICMP) — it does not test whether a port is open. ping can fail even when port 9797 is open (many servers block ICMP), and it can succeed while the port is still closed. Always use Test-NetConnection or curl above to confirm the port itself.
TIP
If Test-NetConnection returns True but a browser still can't load the app, the port is open — check that the Cenova Server and Cenova Edge services are running, and that you're using the correct URL (http://SERVER:9797).
5. Configure Keystone On-Prem (if applicable)
Skip this section if you chose Keystone (cloud).
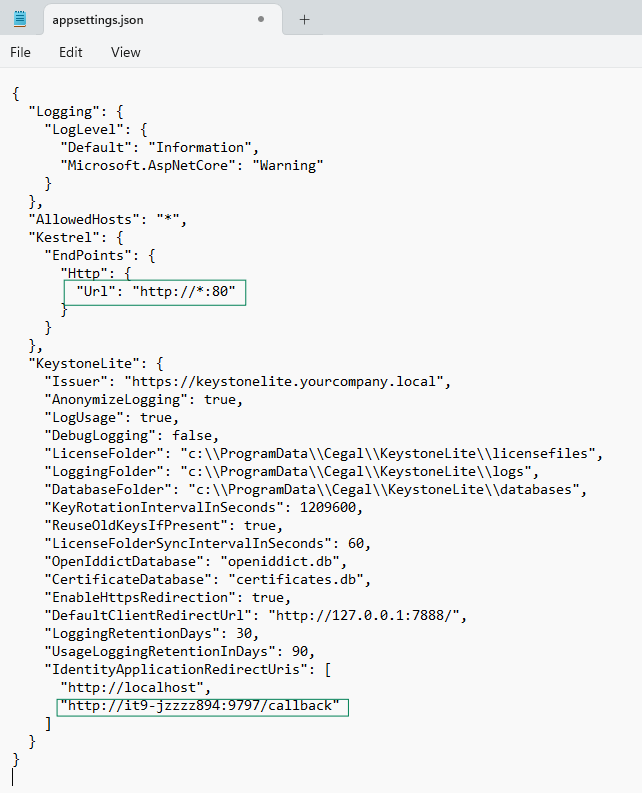
After Cenova is installed, register Cenova's redirect URL with your Keystone On-Prem instance:
- Stop the
KeystoneOn-PremWindows service. - Edit
appsettings.jsonin the Keystone On-Prem installation folder and add the Cenova redirect URL. - (Optional) Change the Keystone On-Prem port from the default
80. - Save the file.
- Start the
KeystoneOn-PremWindows service.
TIP
Running on a non-default port? If you change Keystone On-Prem off port 80 (e.g. because IIS is also on the host), you must also update keystone-url in Cenova's config.toml to match.
6. File locations and logs
| What | Path |
|---|---|
| Application binaries | C:\Program Files\Cegal\Cenova |
| Dynamic data (license, index, config) | C:\ProgramData\Cegal\Cenova |
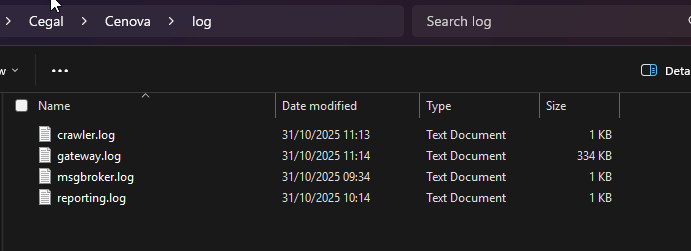
| Log files | C:\ProgramData\Cegal\Cenova\log |
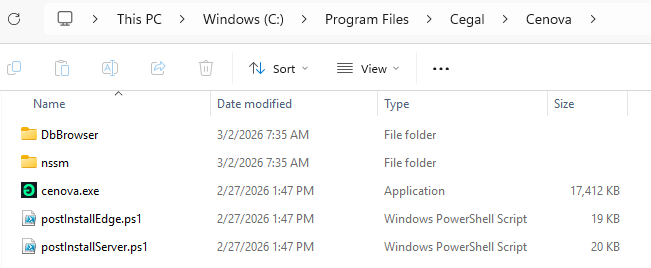
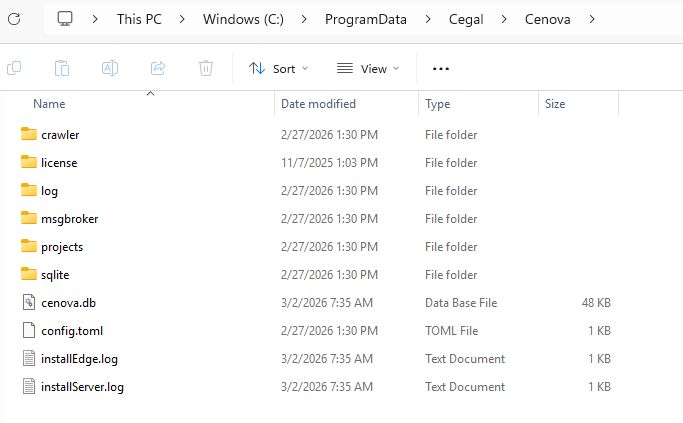
TIP
ProgramData is hidden by default in Windows Explorer. Either enable hidden folders or paste the path directly into the address bar.
7. Relocate the index and project databases
By default Cenova stores its edge and server indexes (which can grow large) under C:\ProgramData\Cegal\Cenova. You can move these to another disk to free space on the system drive.
WARNING
The new location must be on a physical disk attached to the machine. Network paths are not supported for performance and reliability reasons.
To change the location:
Open
C:\ProgramData\Cegal\Cenova\config.toml.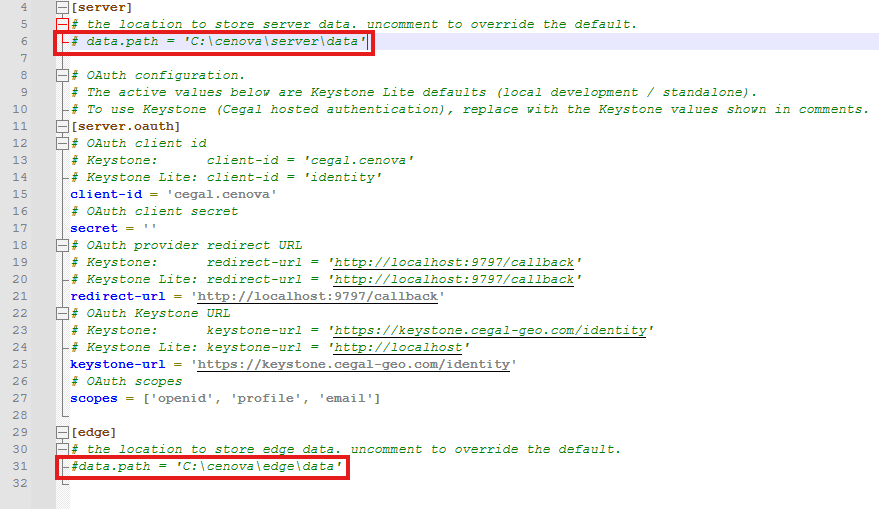
Uncomment lines 6 and 31 (remove the leading
#).Update the paths to your chosen disk location.
Save the file.
Restart the Cenova Server and Cenova Edge Windows services for the change to take effect.
8. Upgrade
To upgrade to a newer release, simply run the new MSI and follow the steps in 2. Install Cenova. The installer automatically detects and removes the previous version.
For the full list of what is installed on the host, see Installed components.
9. Uninstall
You can uninstall Cenova in either of two ways.
Option A — Windows Control Panel
- Open Control Panel → Programs → Programs and Features.
- Locate Cegal Cenova in the list.
- Click Uninstall — all installed components will be removed.

Option B — Original MSI
Double-click the Cenova
.msifile to launch the setup wizard.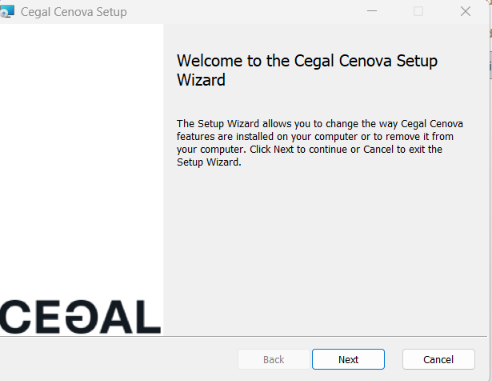
Click Next.
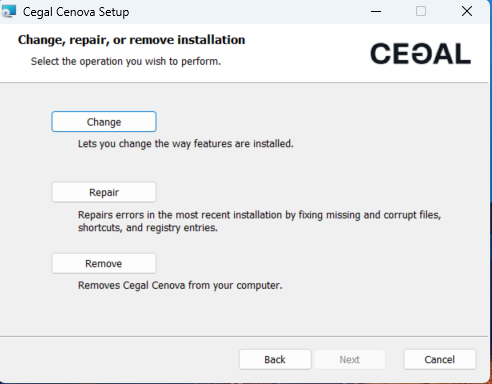
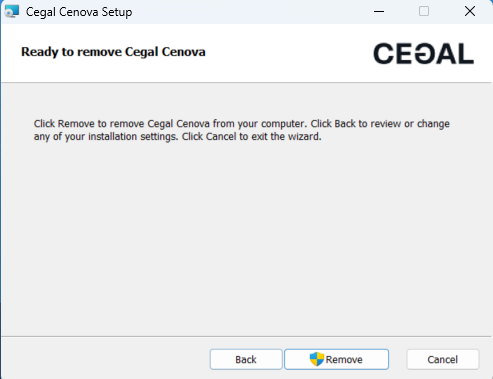
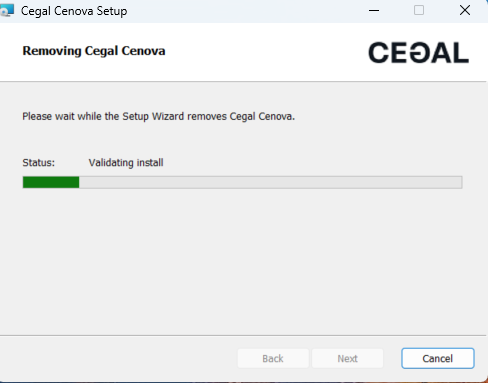
Select Remove and follow the prompts.
Where to next
- Get oriented in the web app with How it works.
- Run your first scan via the Pre-Assessment guide.
- Set up scheduled monitoring in Core Reporting.
- Review the components and ports in Architecture.
- Check what's new in the v1.0 release notes.
- Common questions are answered in the FAQ.
- Need help? See Support.